Flower flatlay routine & tips
Today I’m sharing with you my routine for creating floral images, and also a tip for making flowers last just a little big longer for your flatlays.
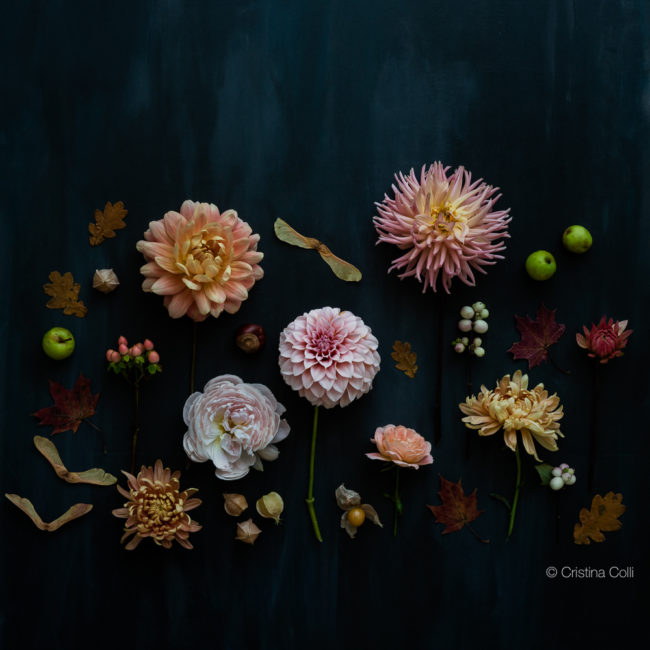
If you follow me on Instagram, you know that every day, Monday to Saturday, I post one of my floral images. I often get asked if I buy fresh flowers every day, or if I have a large garden filled with blooms.
The answer is no to both questions – I have a small garden, mostly paved, where I grow a few flowers in pots. I most definitely don’t buy fresh flowers every day – I wish I could!
Also, I don’t take photos every single day. I used to do that at the very beginning of my Instagram journey, when I was posting much simpler images with just a bloom or too.
The moment I started to create compositions with more flowers I quickly realised that I couldn’t afford to create an image a day though, so now I create as many floral images as I can in one go, to make the most of the flowers I have on hand, and then post them on Instagram during the week.
When I get the flowers home from the florist, flower farm, or from my garden, I first condition them (lots of good advice on how to do that here) and then I store them in the coolest room I have.
It’s best to photograph flowers as soon as possible, so that they look their best. I start with the more traditional still life compositions, because of course once you’ve cut the stem for a flatlay you cannot reuse the same flower for a posy any more.
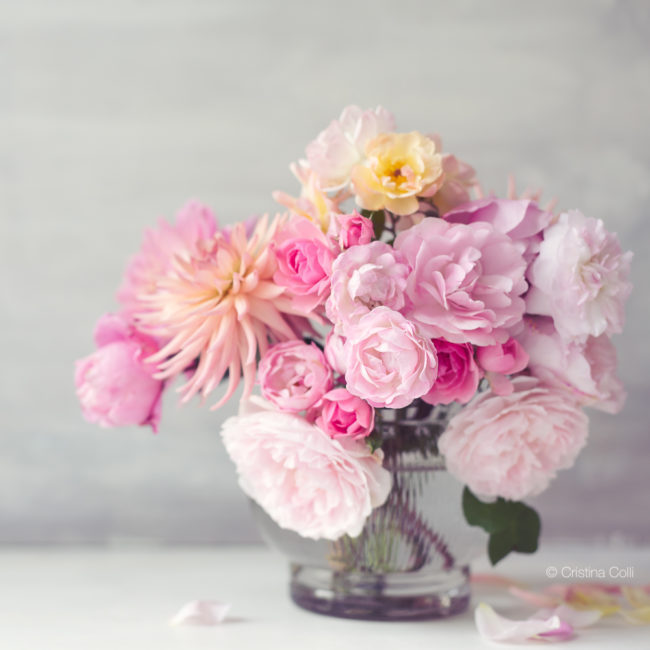
This might seem pretty obvious, but I can assure you that I learned the hard way…I’m all for going with the flow, but in this case a little organisation helps to avoid disappointments, believe me.
It’s also much easier to set up the scene: when I set up for a flatlay I need to move the small table that I use for classical still life photography to make room for the flatlay set up. Focusing on just one type of still life means that I can leave everything in place, table and tripod, until it’s time to create flatlays.
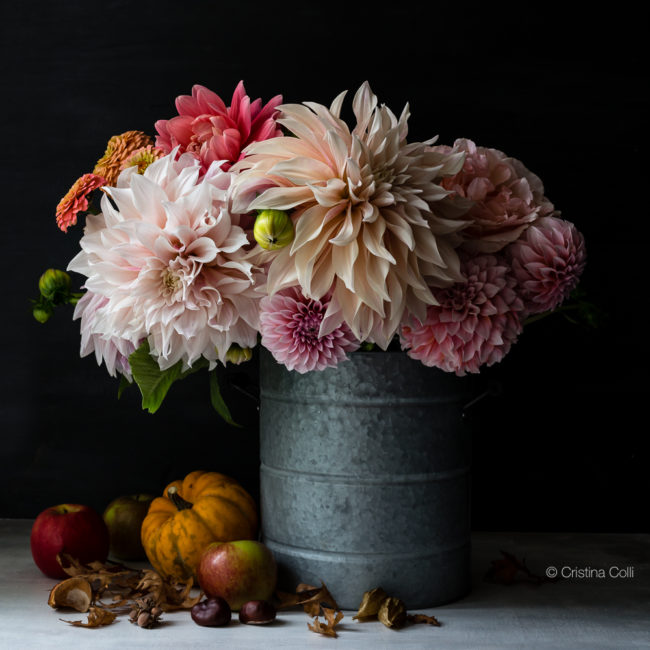
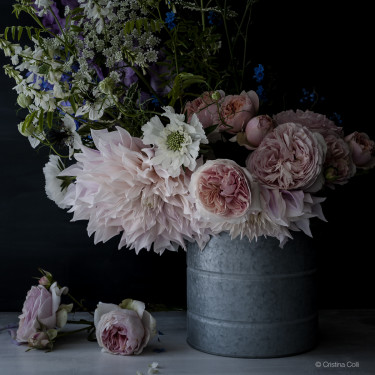
At first I arrange and photograph the tall, large compositions, and then I move on to posies perfect for small vases – again, once you’ve cut the stem short, it’s not that easy to make it long again!
At times I have used florist wire to recreate a long stem, but depending on where the flower needs to go it might be hard to disguise the wire even if you wrap it with florist tape…and it’s all a bit of a faff anyway…not the fun kind of faffing, the tedious one :)
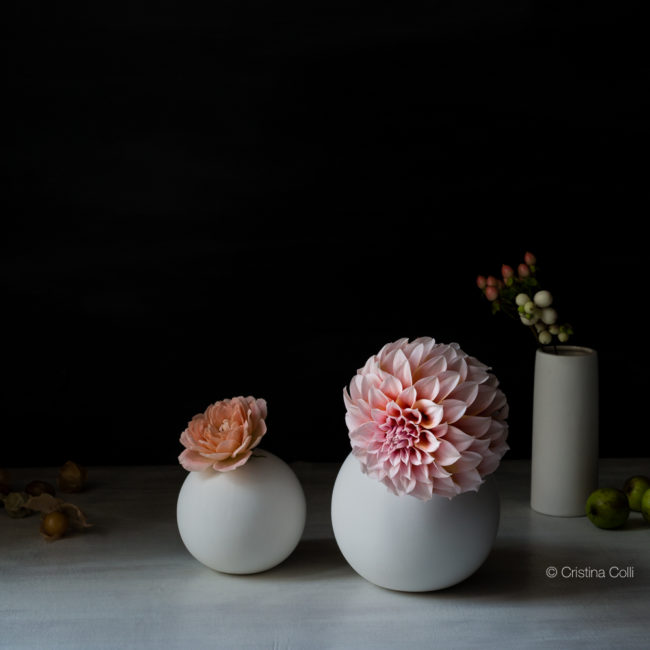
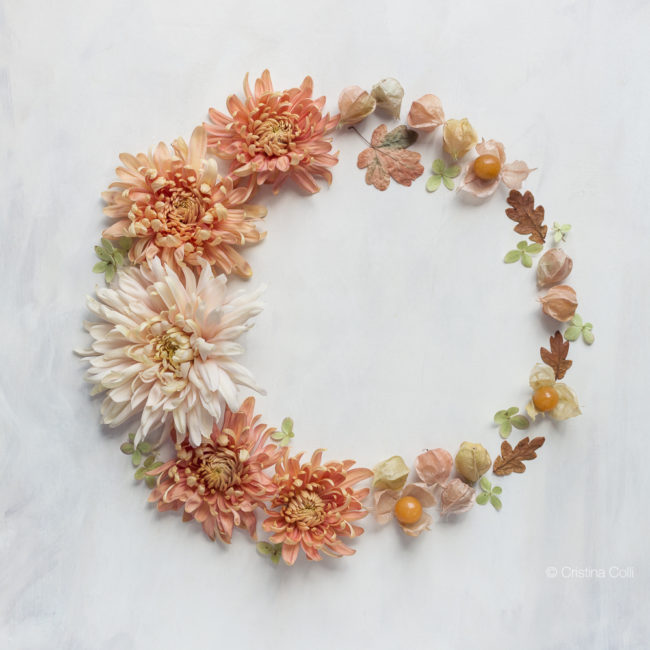
Once I have finished photographing flowers in traditional still life set ups, I begin creating flatlays. First I use the whole flowers, and when I can’t think up of any more ideas I start snapping the flower heads off the stems without being afraid that I might need the whole flower again.
This works in theory, as sometimes I think of a new flatlay or composition where I need the whole flower just right after I’ve cut off its head…oh well…
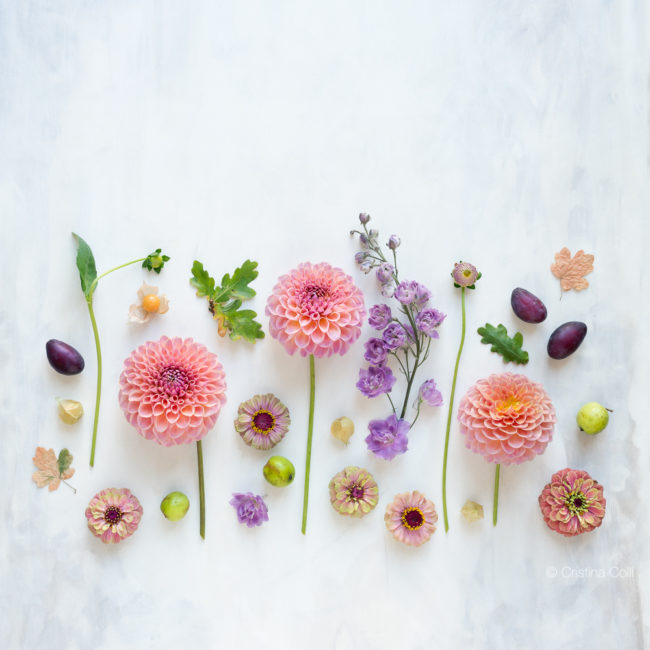
When I have finished photographing the flatlays, I always feel bad about throwing away the flower heads…sometimes I fill a bowl with water and let them float, so that I can enjoy them a bit longer.
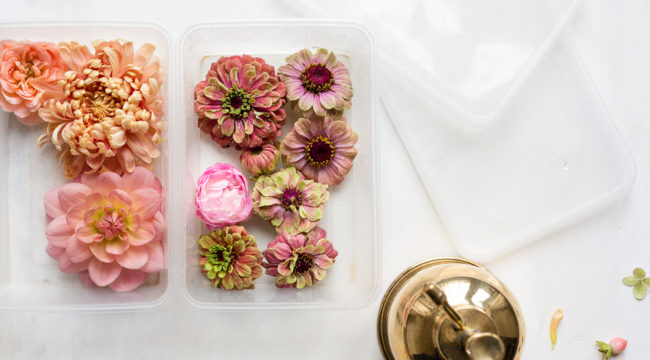
Most of the times though, I put them in a lidded plastic container, mist them lightly with water, put the lid on and store them in the fridge. This way they stay fresh for about a week or more, depending on the type of flower.
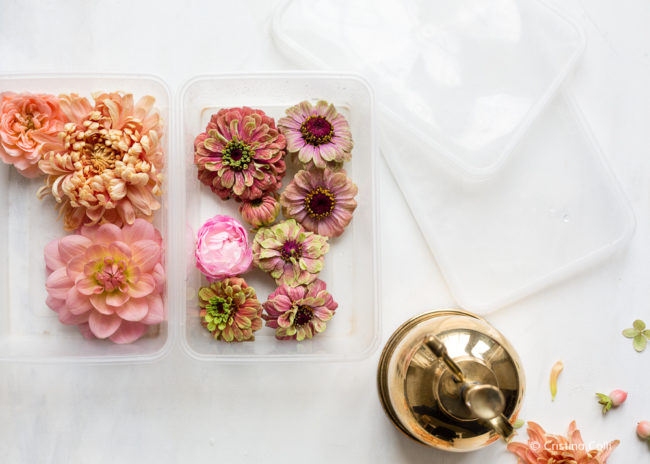
I learned this tip from Philippa Stanton (@5ftinf) and it really works! Some very delicate flowers, like sweet peas or poppies, last only a couple of days before the petals fall off, but others can last even 10-12 days! This is a great way to keep your flowers nice and fresh for longer, ready to use in flatlays.
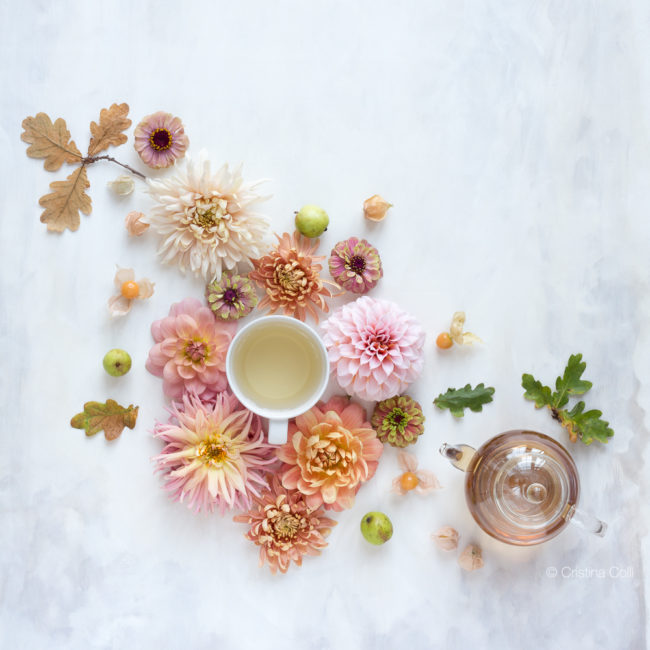
I have a small fridge and need to restrain myself to avoid filling it up with flowers – my husband still thinks that a fridge is for food…what does he know right ;)
Jokes apart, store only flowers that are fresh and still look good. If they are already starting to wilt, storing them in the fridge won’t help much I’m afraid.
That’s it for now, I hope you find the post helpful :)




Share On