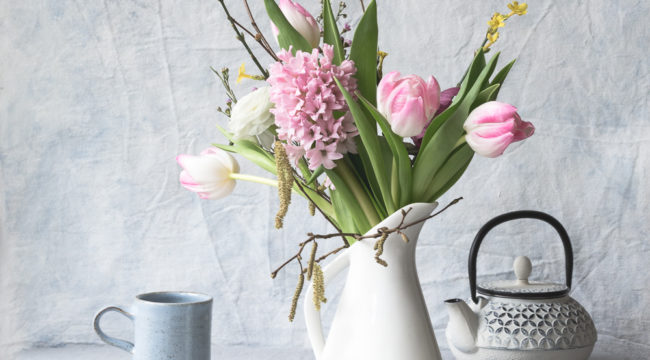
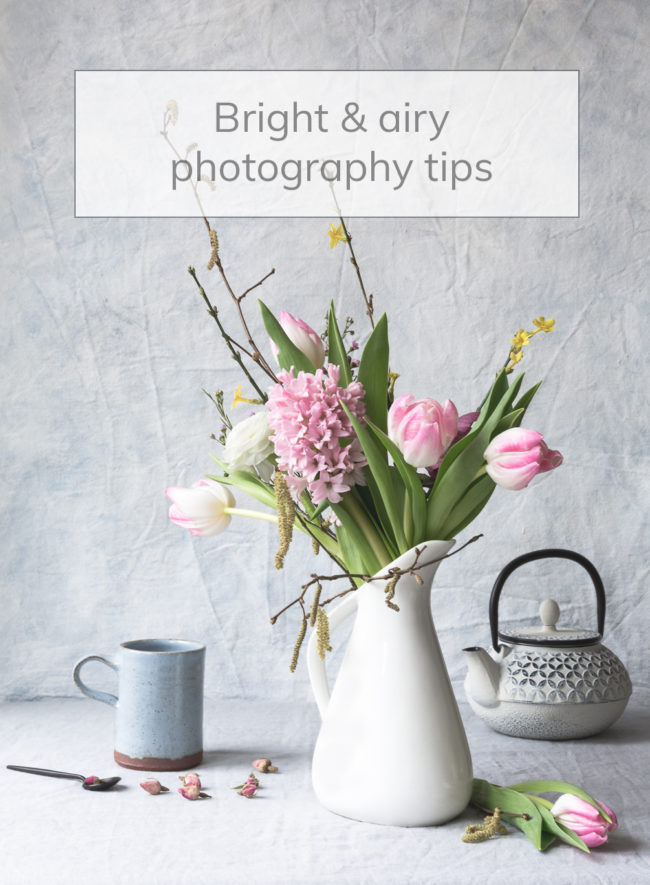
Bright & airy photography tips
After reading my blog post about dark and moody photography tips, many of you have asked me to share a few tips to create bright and airy images, so here they are.
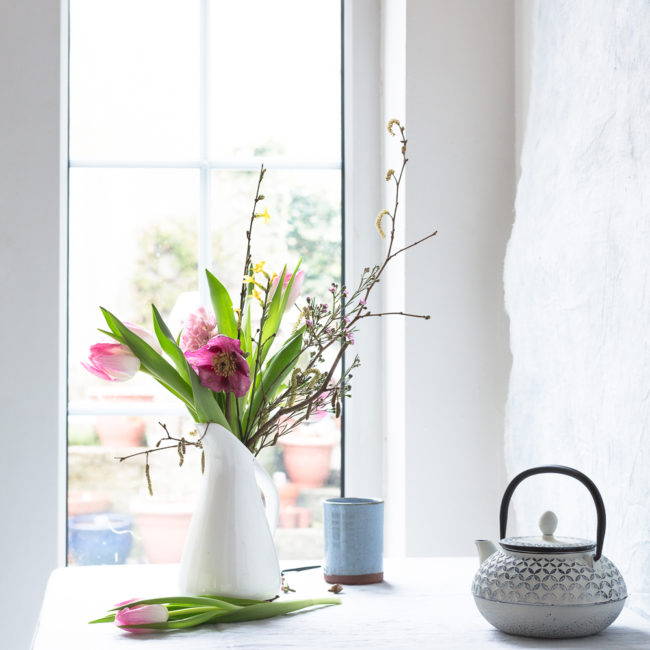
Photography is all about the light, so choosing the right light is essential. I always take photos in natural light, very close to a large glass door in my dining area. The room is exposed to the north, so the light is soft and doesn’t change much during the day.
Have a look at the windows in your house, and see where you could take photos.
If the window available to you lets in strong sunlight instead of soft light, hang a white curtain, some white muslin fabric, or even a white shower curtain to diffuse the light and soften the shadows.
Place your subject (flowers, food, objects, and so on) as close as possible to the window, to make the most of the light.
Natural light changes during the day, and with the seasons. Take some quick snaps at different times, morning and afternoon, to understand what’s the best time to take pictures. This will change depending on your window’s exposure (to the north, east, south, and so on) and also depending on the seasons. In winter I usually have just a couple of hours of really good light, in the middle of the day, while in summer I can take photos for several hours.
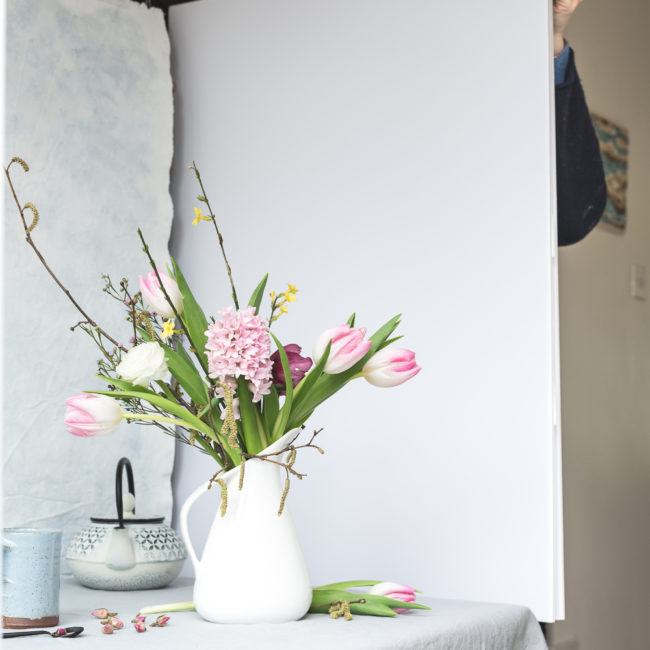
Use reflectors to bounce off light from the window and soften the shadows. You can use white boards or paint a piece of cardboard white, or even use some thick white fabric.
You can also use a mirror, or cover cardboard with some foil, but the effect will be different. I tend to use white boards as the reflection is softer, but do experiment to see which reflector gives the effect you prefer.
The backdrops I use are almost white, so it’s like photographing snow – the camera will automatically try to darken the photo because it thinks there’s too much light. For this reason I tend to slightly overexpose my images. Be careful though and don’t overexpose the image too much, otherwise you’ll risk blowing out some details, and editing cannot really fix that.
Keep your camera steady to avoid blurred, out of focus images. Keep your arms close to your body, and lean to a wall if you can. Another trick is to not hold your breath, because that will make you tense up. Instead, press the shutter button at the end of your exhale.
Better still, use a tripod. I only hand-hold my camera when I take close ups with wide apertures. For anything else I use a tripod, because I tend to shake my hands a little.
Take more than one photo, especially if you are hand-holding your camera – you don’t want to wait for the editing step to discover that the image you like the most is slightly blurred! Sometimes it’s hard to really see how sharp an image is from the LCD screen, so it’s best to take at least 2-3 shots.
As with my dark and moody photographs, I use editing as another creative tool. I take the best possible shot of my subject, and then use Lightroom to bring my vision to life – and sometimes Photoshop for some finishing touches, like getting rid of my cats hair for example :)
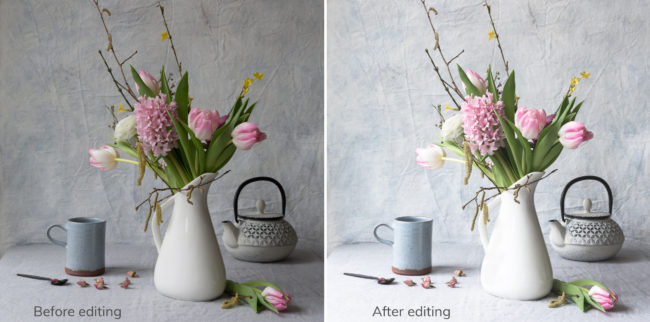
I tend to change the white balance for most of my images, as I prefer cool tones, then use tone curves to soften the look, desaturate orange and yellow, make local adjustments with brushes, and sharpen the image.
This is a before and after of the same image – the one on the left is straight from the camera, the one on the right edited.
I made a video tutorial with all the steps, I hope you find it useful :)
As usual, this is not the only way to edit photographs, just my way. You can often get similar results using different editing tools, and of course we all have a unique vision and taste, so what works for me might not work for you. Try to understand how each editing tool works, practice, and you’ll soon learn how to bring your own vision to life!




Share On