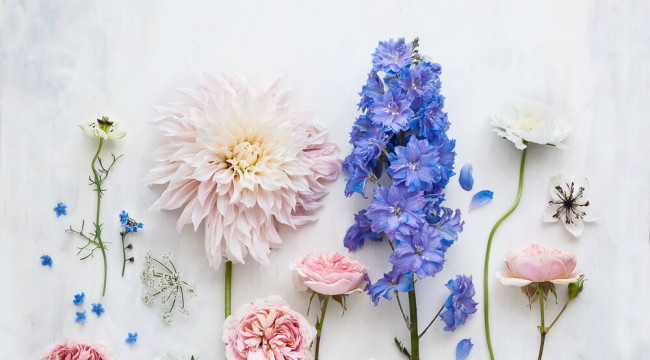
Still life: behind the scenes
During my workshops and e-courses, I often come across students who are afraid that they won’t be able to create beautiful images unless they have a dedicated room for taking photos, or a gorgeous home, or a beautiful garden, or all of the above. This is absolutely NOT true, and today I want to show you where I create my images, and give you a few tips about setting up a space for your still life photography.
In an ideal world, I’d love to have my own studio: a light-filled space, with lots of room to work and create different types of images. This dream studio would be in the garden, close to a small greenhouse and potting shed, and a patch to grow flowers…in the dream, there’s also a house with wooden floors, airy rooms, a fireplace, and a beautiful view over fields and woodland…
The reality is quite different though. We are renting, so we’re stuck with beige carpet and slate flagstones, no fireplace, a small garden paved with ugly concrete slabs, large radiators in inopportune places, and views of a small court cramped with houses and cars…it’s a nice, comfortable house to live in, and I’m grateful for it, but alas it has no photogenic areas that are Instagram-worthy.
I have lots of ideas for images that I’d like to include in my visual storytelling, like larger still lives, and garden scenes too, but at the moment I can only work on a very small scale…and yet, that doesn’t prevent me from creating. Other things sometimes do, but that’s for another day and another post ;)
I thought I’d share with you where I work, to show you that you can indeed practice still life photography even in small spaces.
I shoot in my dining room by the glass door leading into the back garden, and my set up consists of a small folding table, my painted wooden backdrops, and a small selection of vases, teacups, and other props.
Every time I shoot I need to move the table and chairs, to have enough room for moving around, and when I finish taking photos I always need to move the furniture back and tidy up…and believe me, there’s usually quite a mess to clear up!
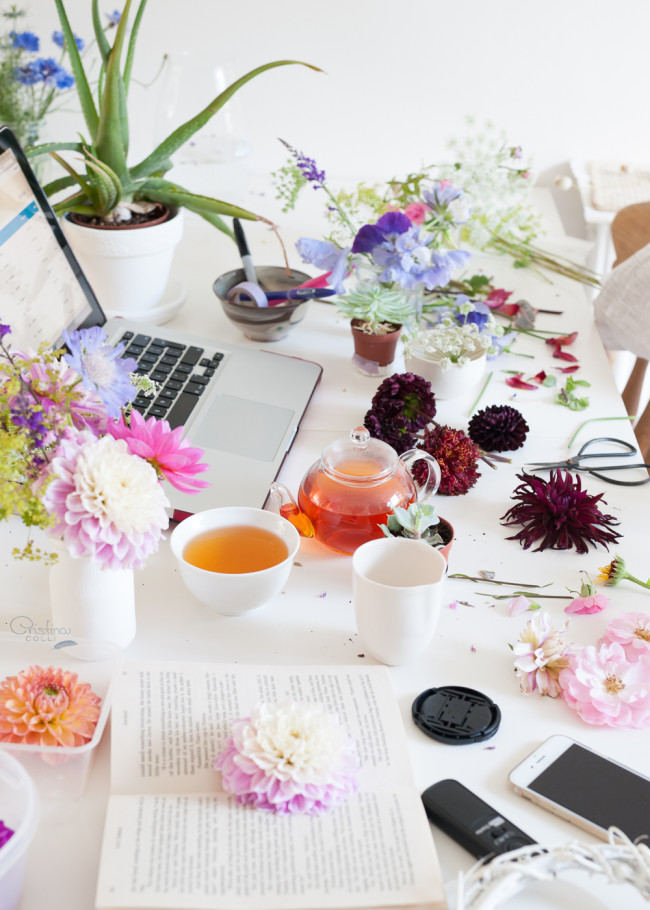
Sometimes I find the thought of putting everything back a bit annoying, but overall I don’t mind it too much.
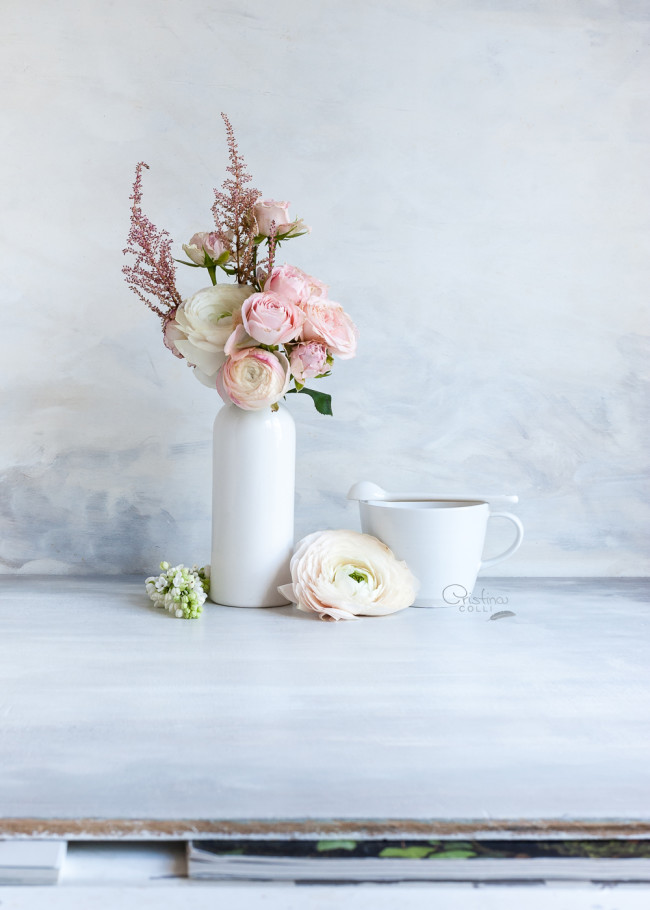
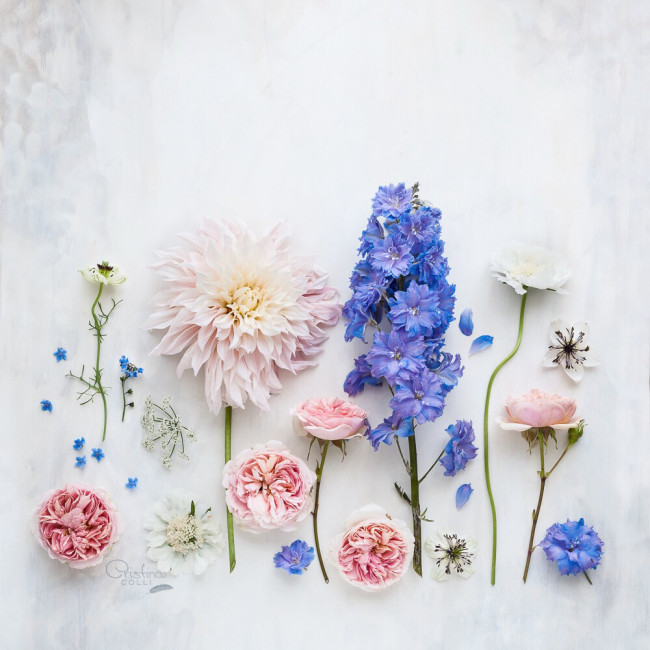
Let’s have a look at the set up for a simple, classical floral still life: I leaned my painted backdrop on the wall (well, on the radiator!) by the window, and placed a wooden tray on a wicker box to create my “table”. I then arranged the flowers and fabric, and took the photo.
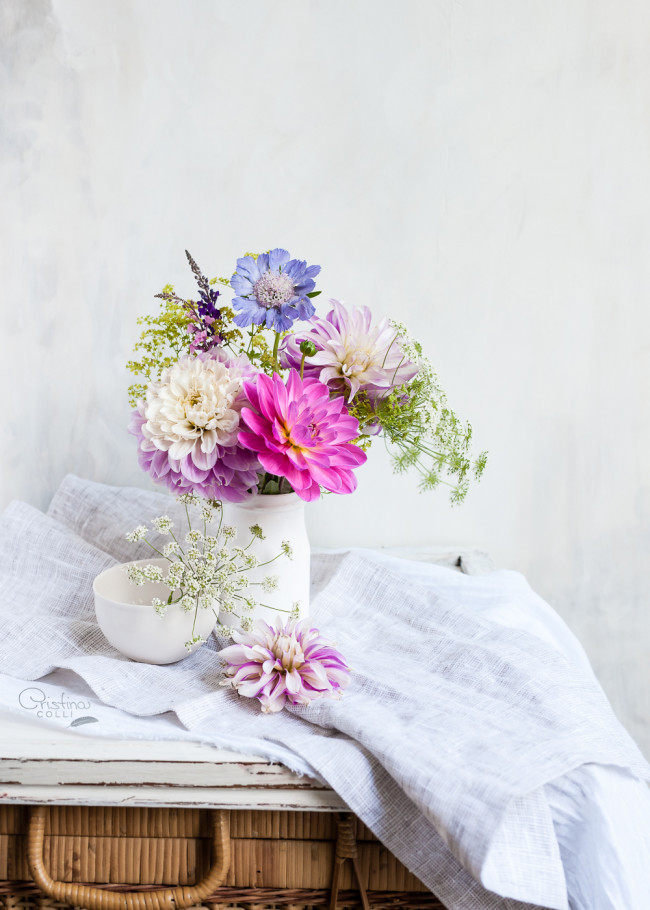
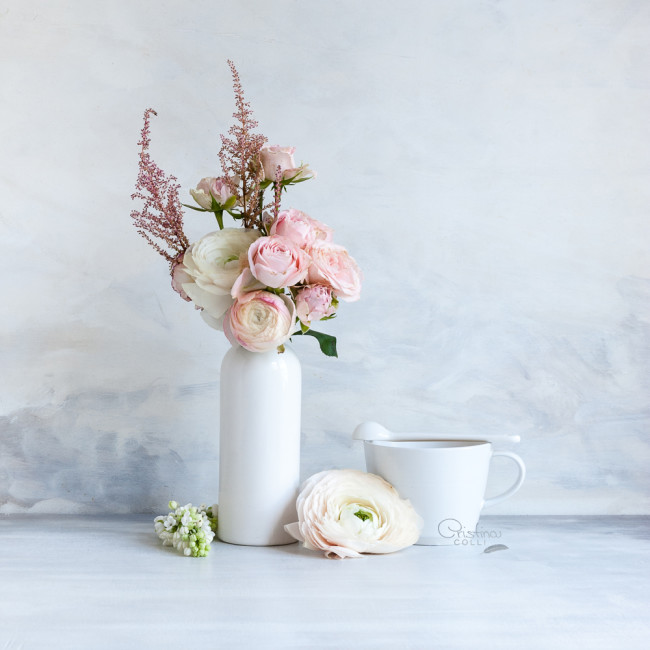
When I edited the image, I cropped it square as that’s my favourite format.
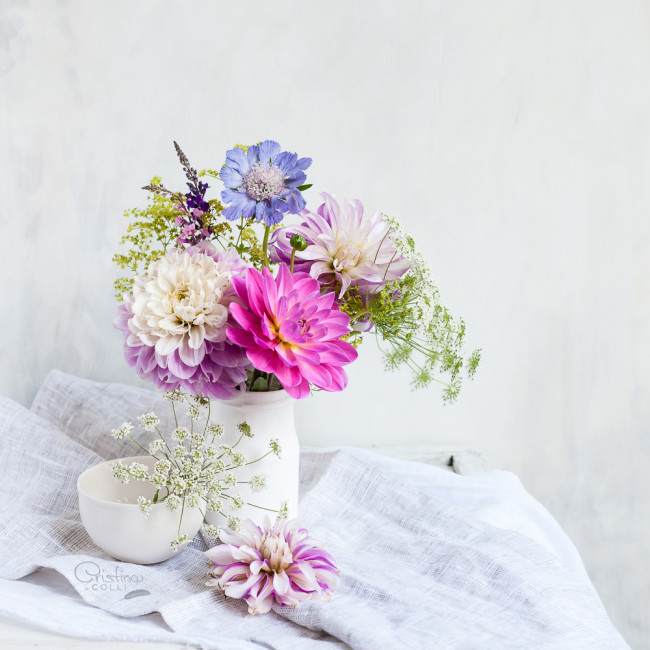
In this other image, I propped one backdrop on the wall, and placed another backdrop on the folding table.
After editing I cropped the image square, as usual.
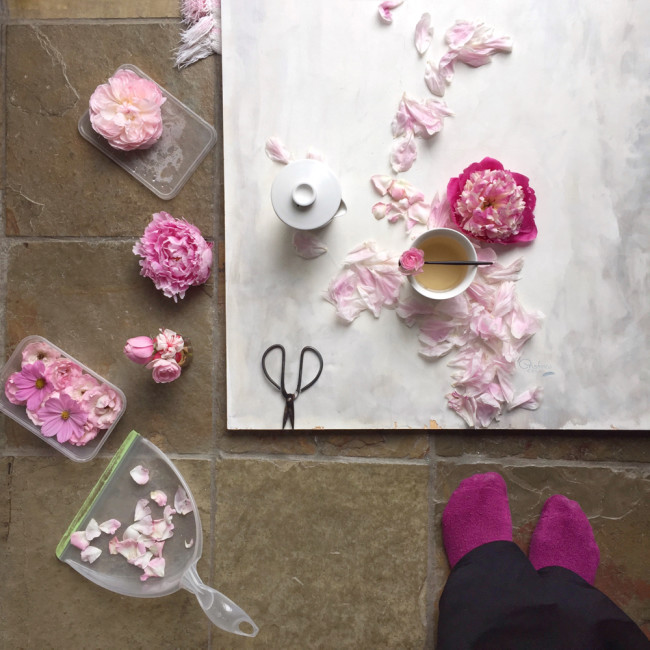
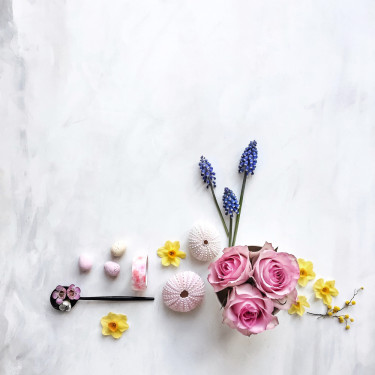
When I set up a flatlay, I place the backdrop directly on the floor. Some people work on a table, but I prefer to work on the floor, even if that means doing a lot of crouching, because I suffer from vertigoes and I don’t want to stand on a chair to photograph my work.
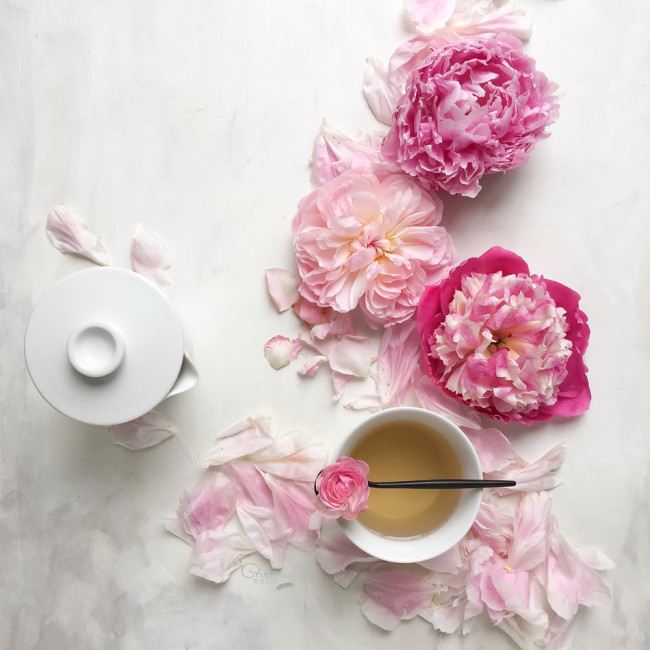
I don’t use a tripod when I take photos with my iPhone, but I do use it for my DSLR. I also always use a white reflector to bounce off the light from the window, and soften the shadows.
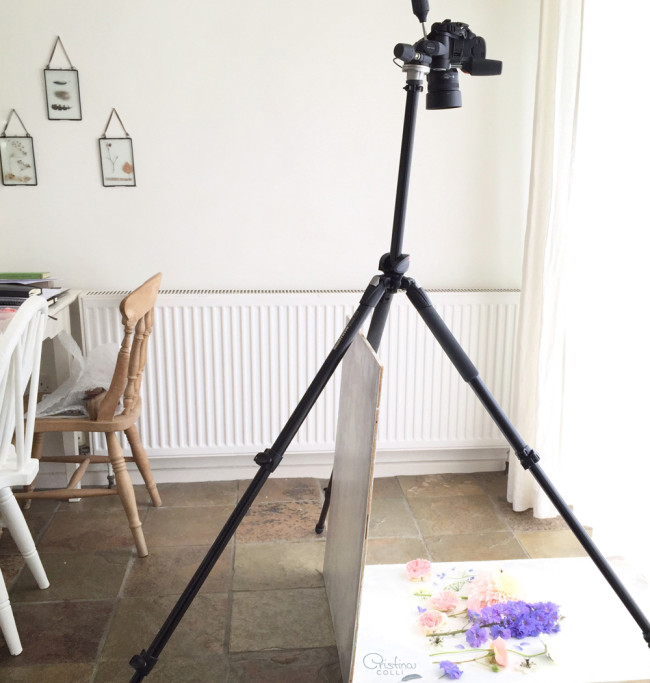
See, I wasn’t joking about the radiator – definitely not photograph material!
If, like me, you want to shoot with natural light, the most important thing is to find a spot in your home that has the best light for your style of photography.
A north-facing window will provide you with soft diffused light that won’t change much during the day, but if your only option is a south-facing window don’t despair: just use some white cloth, like a sheet or curtain, to cover the window and diffuse the light.
If you don’t have enough natural light, use a lamp with a daylight bulb, to avoid colour casts, or perhaps practice low-key photography a.k.a. dark and moody. In this type of photography, even a small amount of light will allow you to create beautiful, dramatic still life images.
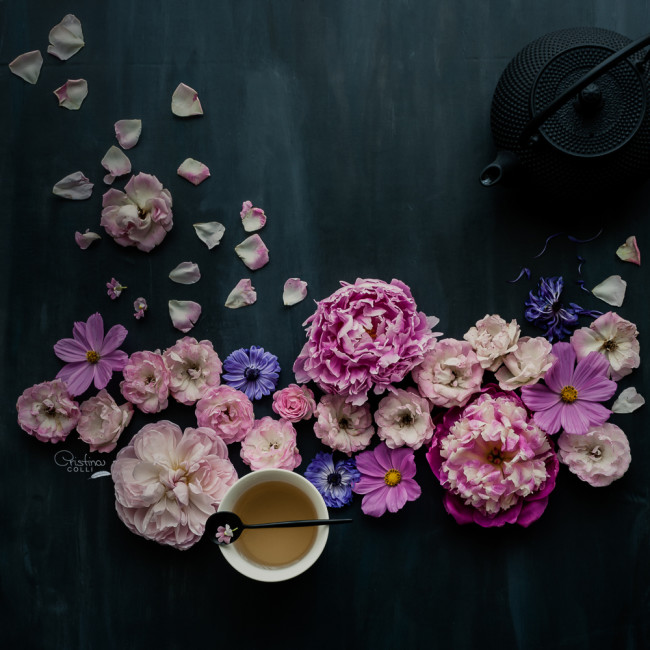
A small table, a portion of the floor by a window, even a windowsill can all be suitable for still life photography. Granted, you will have to work on a small scale, like I do, but limitations are actually a great way to stimulate creativity and improve your work.
Try different windows, and different set ups, until you find one that works for you and your style, and then keep practising and have fun!
So where do you take your photos? I’d love to know :)




Share On