iPhone photography tips

I use my iPhone to photograph all the still life and flower images that I post on my Instagram account. I always have my iPhone with me, which makes it very easy to capture a moment and share it on social media. People often ask me how to take better still life photos with their iPhone, so today I’m going to share a few simple tips with you.
1 – Take pictures in natural light: No matter what camera you use, the most important thing in photography is light, so try to photograph your images in the best available natural light. Soft, diffused light that won’t create too many shadows is my favourite. To achieve this, place your subject (flowers, food, or other objects) by a window.
2 – If there’s strong sunlight, cover the window with sheer fabric to diffuse the light (a white curtain or some white fabric, like a sheet or tablecloth, will do).
3 – Use a white board or reflector to bounce off light and further soften the shadows. If you don’t have a reflector, a simple piece of cardboard painted white will do the job.
4 – Tap the screen on the darkest area of your photo to improve the exposure. This is especially useful for bright and airy photos with white or light backdrops.
5 – Keep your iPhone steady to avoid camera shake and blurry, out of focus images. You can do this either holding it with two hands, or holding it with one hand and letting it rest on your fingers, whichever feels more comfortable for you. Try keeping your elbows close to your body to improve stability. If possible, you can also rest your iPhone on a table or other surface, or even use a tripod. I only use a tripod with my DSLR camera though, as for me iPhone photography is all about taking photos quickly.
6 – Don’t hold your breath. When we hold our breath we tend to tense, and this can actually make it more likely to have shaky ends. Instead, try tapping the shutter at the end of your exhale.
7 – Don’t use the zoom, but rather move closer until you like the composition. If you use the zoom, the image tends to lose quality and becomes grainy or pixelated very soon, so move closer to your subject and try different angles too.
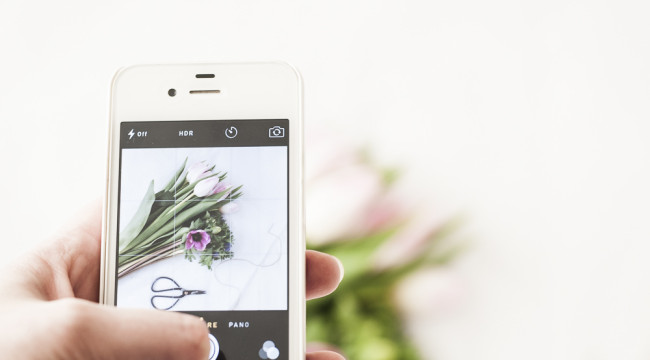
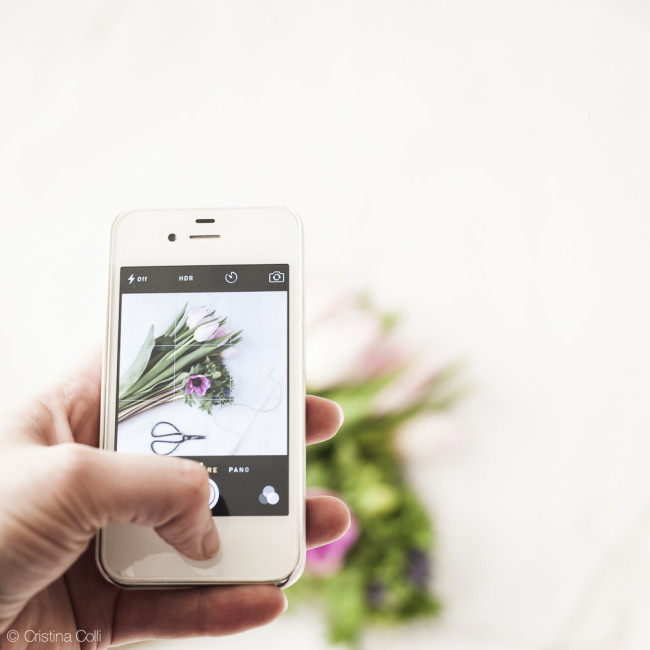
8 – Turn the grid on to help you compose the image. You can do this from Settings => Photos & Camera => Grid
9 – As much as I love my iPhone, I cannot fully control the exposure as with my DSLR camera, so I usually edit my photos too. I normally use the Photoshop App (free) to further improve the exposure. Depending on the photo, I usually lighten up exposure & shadows a bit, slightly increase clarity and contrast, and slightly increase or decrease vibrancy, depending on the effect I want to achieve. Small changes are best to get a nice, clean edit and improve your photos. You can also edit your images directly from Photos, just select the photo you want to edit and click Edit. At the bottom you will see a series of small icons: click on the square to crop and rotate, on the three circles to apply a filter, and on the single circle to touch up light and colour.
I hope you find these tips useful – have fun!


Share On