My photography equipment
I often get asked what kind of photography equipment I use, so I thought I’d share all about it in a blog post.
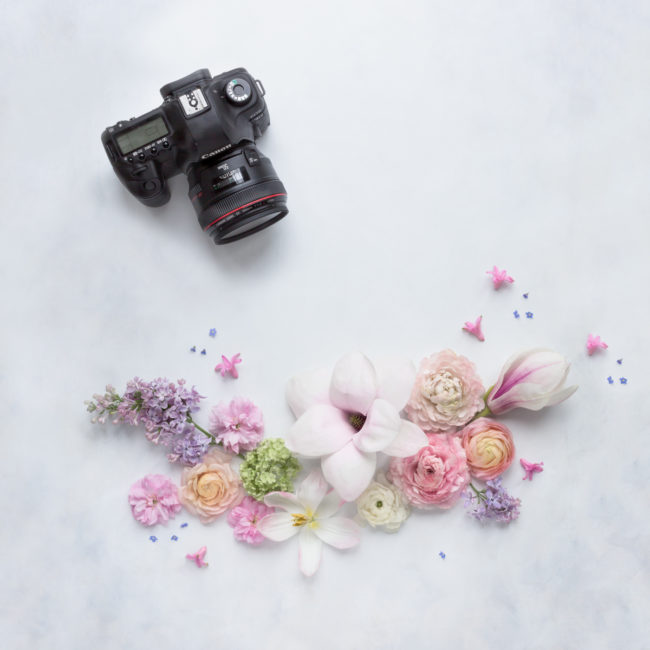
Before I delve into my list of equipment though, I’d like to remind you of something crucial: your camera doesn’t take the photograph – you do. Your camera is just a tool that you use to create images.
Just like buying good quality brushes won’t turn you into a great painter, buying an expensive camera won’t turn you into a good photographer.
Sure, some cameras, and some lenses, deliver a better image quality, but each image is only as good as the person who takes the photograph is…so don’t despair if your camera is not “the best one on the market”, and instead focus on learning how to use your camera and become a better photographer ;)
I have seen amazing photographs taken with an iPhone, and awful photographs taken with top of the range DSLRs. In fact, until a couple of years ago, most of my Instagram flatlays were iPhone shots, and some people couldn’t believe it…I much prefer taking photos with my DSLR of course, because it gives me more creative freedom, but when you know about exposure, light, composition, and other fundamentals of photography, you can take beautiful photos regardless of the camera you have.
My first digital camera was a small compact – or point-and-shoot camera. I don’t even remember what brand it was, but I remember that it had a few settings like macro, landscape, and portraits. I did my best to take photos with it, but I wanted to have more creative control and so in 2010 I bought my first DSLR – a Nikon D5000.
I then graduated to a Nikon D700, and two years ago I switched to Canon. I wanted a camera who supported larger files for prints, and that took professional photos. My friend had a Canon 5D mark III and was waxing lyrical about it, so I borrowed it and tried it for a little while.
I liked it a lot – the image quality, its user-friendly design, and the way it feels in my hands, so I went for it.
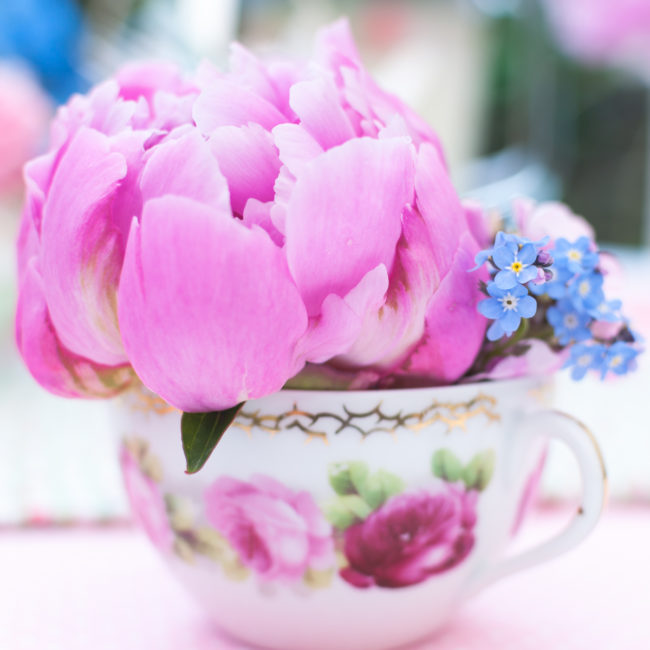
I took this photograph of a peony in a teacup with my entry level camera, the Nikon D5000, with an AF-S DX 35mm f/1.8 G lens.
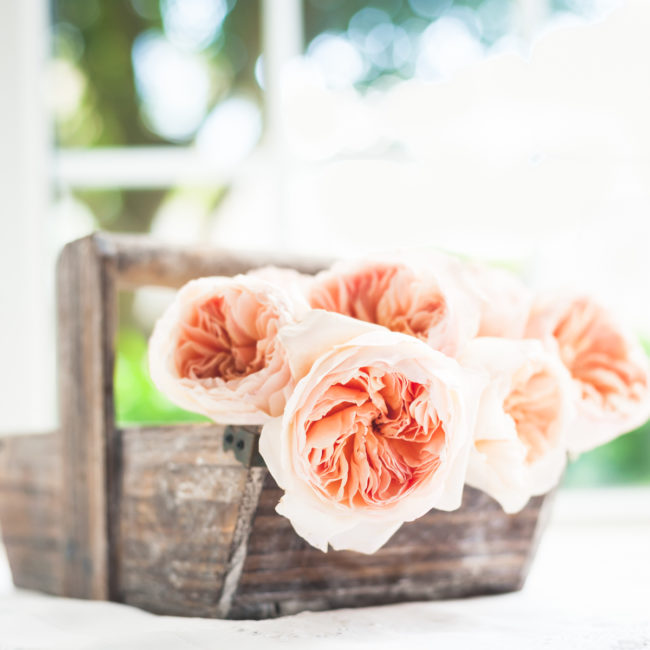
For the image below of David Austin roses, I used my Nikon D700 with a Af-S Nikkor 50mm f/1.8G lens.
Finally, I took the photograph of the spring blossom and egg nest below with my current camera, a Canon 5D mark III with EF 50mm f/1.4 USM lens.
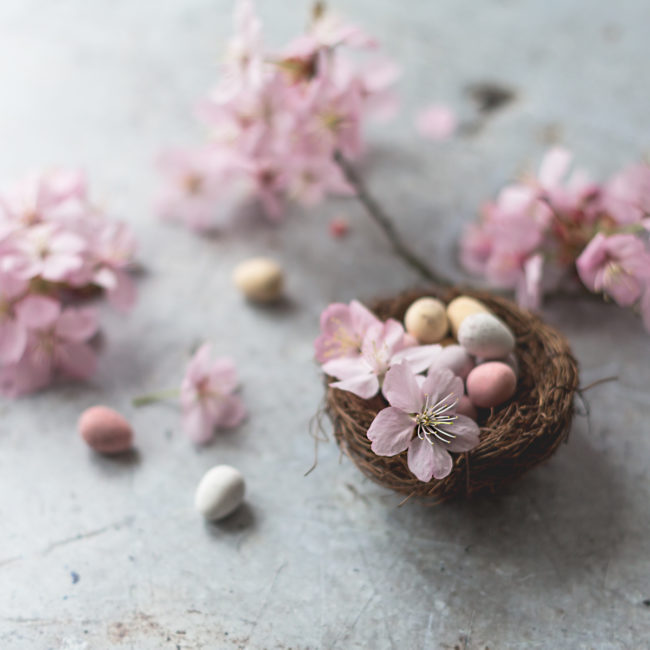
I wanted to show you examples of photos taken with different cameras, from an entry level one to a professional one, to prove my earlier point that you can take beautiful pictures with any DSLR camera :)
If you are just starting out with DSLR photography, there are lots of great DSLR entry cameras. Different brands, and different models, have their pros and cons.
Some cameras and lenses are designed to be very fast, to accommodate the needs of sports and wedding photographers, who need to be able to shoot fast, and change settings quickly too, to capture the scenes.
If however you are only interested in still life photography, you can settle for a slower camera and lens, because speed doesn’t really matter for this type of photography.
Do a bit of research on the types of cameras that might be right for you. Think of your needs, of your budget, and of all the technical equipment you need – camera, lens, tripod…
If you cannot afford a new camera, or lens, consider buying second-hand – my Canon 5D and 70D are both second-hand and they work just fine.
Do your research, and if possible try your camera before buying it: it’s important that you feel comfortable with it, and that it feels right when you hold it. In the end, it’s always a personal choice.
There are places where you can hire cameras too, so it could be an idea to hire one or more camera bodies with the same lens, and see how you like them and which one you prefer.
To get back to what I use, this a list of my essential gear:
– Canon 5D mark III with EF lens 50mm 1.4 – I use this camera for most of my photography. This lens is sharp, fast, and has a lovely blur when used with wide apertures.
– Canon 70D with EF lens 50mm 1.8 – this is my backup camera, and I’ll soon start to use it for videos too – as soon as I find the time to play with it!
– Manfrotto Tripod 055XPROB – I bought this in 2010, so I don’t know if they still sell this exact model or if they have upgraded it. It’s a sturdy tripod, quite heavy, with a lever head.
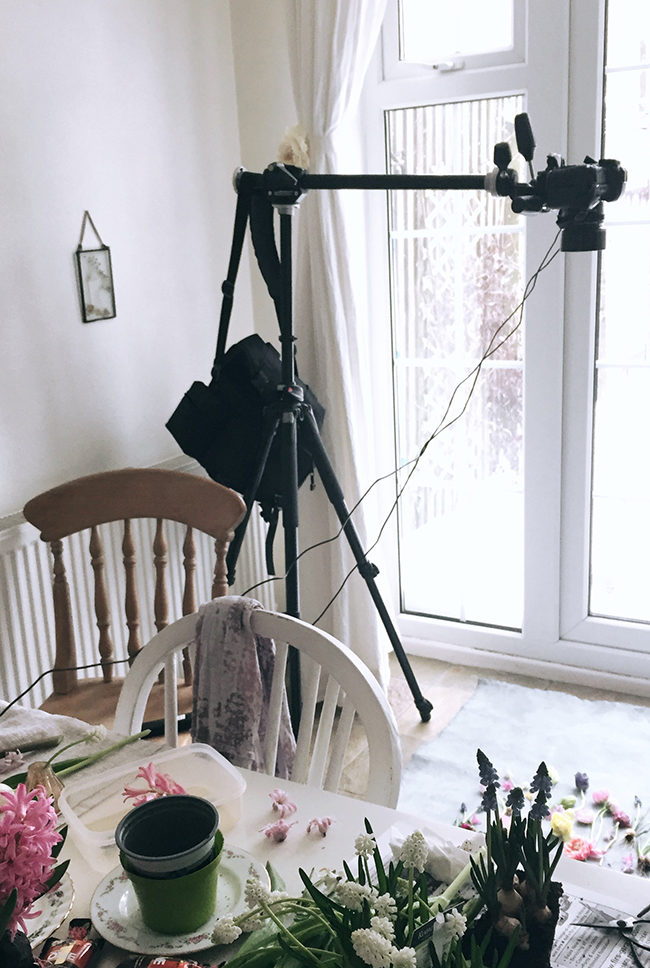
– Manfrotto Arm 131DB – I bought this arm to take photos from above. The arm keeps the camera straight, and it’s very quick to set up. It’s important to use some kind of weight to counterbalance the camera though, or the tripod will tilt and fall (and you definitely don’t want that!). I usually put a few cans of chickpeas or similar inside my camera bag, and hang it at the end of the arm to balance off my camera. Since I bought this arm it’s become much easier to take photos of floral flatlays.
– Manfrotto BeFree Aluminium travel tripod with ball head – This is a very light tripod that can be folded quite small and carried around with ease. I use it to take classical still life photographs around the house, to make videos, and, sometimes, for taking photos when I go for walks or travel. Even though it’s quite light, it’s sturdy enough for my Canon 5D with 50mm lens.
– Reflectors – I use reflectors, white mounting boards, and black mounting boards to manipulate light (bounce it off and/or block it). Check out this post for a few tips for bright and airy photography, and this one for dark and moody photography.
– Remote control – I use a remote control when I take photos from above, because touching the shutter makes the camera move a little. I also use it when I want to include my hands in the picture, or for self portraits. You could use the self-timer feature for similar results, but the remote control makes it mush easier to take these kind of photos.
– Backdrops – I paint my own backdrops, and occasionally use vinyl backdrops (Capture by Lucy sells some great ones for small scale photography). I have painted wooden plywood boards, and recently I also painted fabric backdrops. I use heavy cotton fabric, wall paint, and acrylic. Kim Klassen has a great e-course called Make Backdrops, in case you’re interested. I took her class last year, and enjoyed all the tips and techniques she shares in her videos.
– Adobe Lightroom – I use Lightroom to edit all my photographs. This software is specifically designed for photographers, and it makes editing very easy and quick. I have the photographer subscription, which gives me access to the latest versions of Lightroom and Photoshop. You can try Lightroom for free for a month trial (I was hooked after a week!)
– Photoshop – I use Photoshop after I have edited my photos with Lightroom, to add some finishing touches (mostly getting rid of specks of dust, cat’s hair, and imperfections in the flowers).
That’s it :)
SaveSave
Tags: camera, equipment, gear, lens, photography




Share On