Still life photography tips
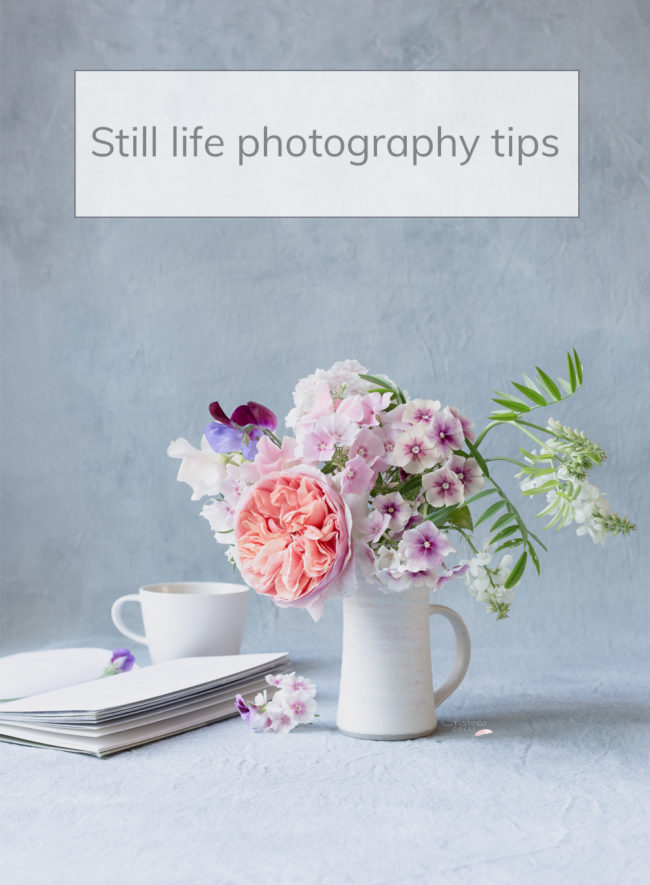
Today I’d like to share some simple tips to improve your photography skills and create beautiful still life images, but first I’d like to say a few words about the reasons behind my love of still life photography, and why I think you should give it a go.
I like do things slowly and purposefully, and still life photography suits my calm nature perfectly.
Some people thrive when they’re under pressure, but I don’t. When I force myself to do something quickly, I get flustered, and often end up forgetting some essential steps. This leaves me frustrated at the best, and stressed out at the worst.
With still life photography, slowing down is part of the process, and I can take my time creating an image without the fear of missing the perfect moment. I can lose myself in the process of moving objects and flowers around, trying different set ups, and playing with light.
The whole experience feels almost like a meditation, and when I allow myself to play and be present to the act of creating I forget my worries, and feel at peace. So if you are looking for a simple way to slow down and practice mindfulness, I recommend trying your hand at still life photography.
Apart from its therapeutic nature, creating still life images is also a fantastic way to practice your photography skills in a controlled environment, and learn how to use your camera. Nothing moves, you get to decide everything, from subject to light, and you can take your time to compose the still life, choose the camera settings, and frame the photograph – a perfect learning process for beginners.
So here are 10 tips to help you create beautiful still life photographs:
1 – Choose natural light or daylight bulbs. Photography is all about light, and choosing the right one is vital. Set up your still life very close to a window, and turn off all lights, so that you don’t get the yellow-orange cast typical of house lights.
Natural light has a colour too, a temperature (your White Balance) that changes with the time of day, weather, and season. I take photographs by a glass door exposed to the North, because the light changes less during the day.
North light is soft and diffused, and produces soft shadows, but if the only available window you have is not exposed to the North, don’t panic :)
Use white sheer curtains, or even some tracing paper, to cover the glass panes and soften the light, and try to take photos more or less at the same time of the day, so that your whites are consistent.
If taking photos in natural light is not an option, consider investing in a couple of studio lights with daylight bulbs.
2 – Choose manual or aperture priority mode. Automatic mode might work in some situations, but if you want creative control you need to learn how to take photographs in manual mode, or at least aperture priority mode.
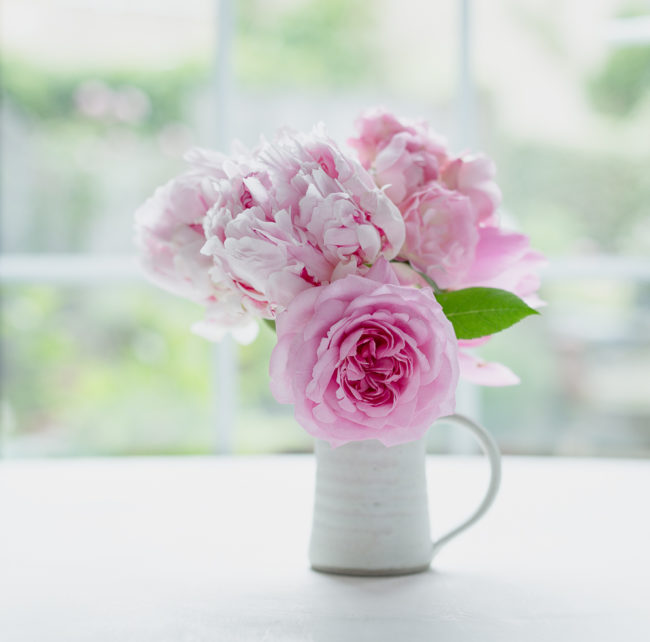
This way, you can control your depth of field – how much of your still life will be sharp, ad how much will be blurred and out of focus.
Depth of field is a powerful creative tool that helps direct the viewer’s attention to parts of the image, and evoke different emotions – something essential if you want to create images that tell a story.
3 – Use reflectors to bounce off light or block it. Use a white reflector to bounce off the light coming from the window and soften the shadows, to get a bright and airy look.
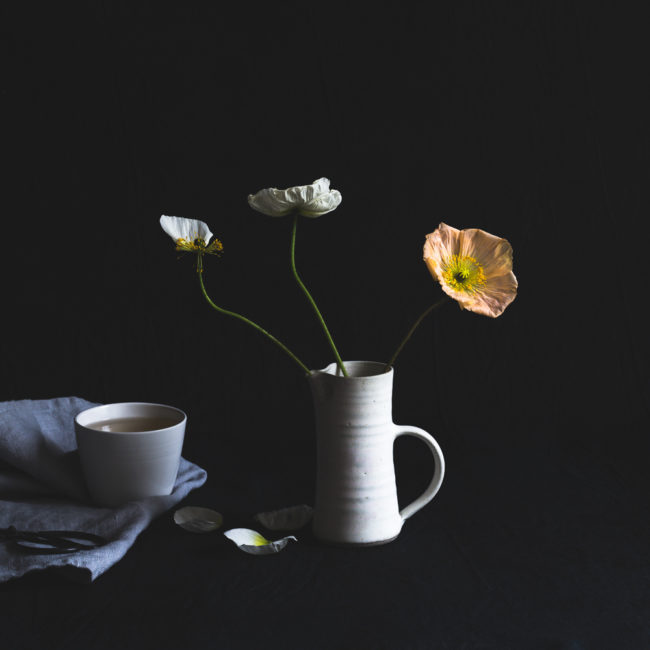
Use dark reflectors to block light so that it hits only some areas of your still life, for a dramatic look.
You can use white, or black, boards, or paint some cardboard. The bigger the reflector, the more light it will bounce off (or block).
4 – Use a tripod. A tripod keeps your camera stable and lets you take sharp photos in all occasions, even with a slow shutter speed setting. If a tripod is not on your budget, try to place your camera on a table or similar, to stabilise it. I also use a remote control to avoid touching the camera, but if you don’t have it just use the self-timer setting.
5 – Keep your still life simple. Start with simple arrangements of two, three or five objects, and add more details to the scene when you feel more confident.
Choose a simple background that complements your subjects, and when you frame your photograph remember to leave some empty space to make them stand out (negative space). Place objects close enough, to show a relationship between them, and try to have different heights to create interest.
Arrange your subjects in a way that directs the eye to several parts of the image, to keep the viewer engaged.
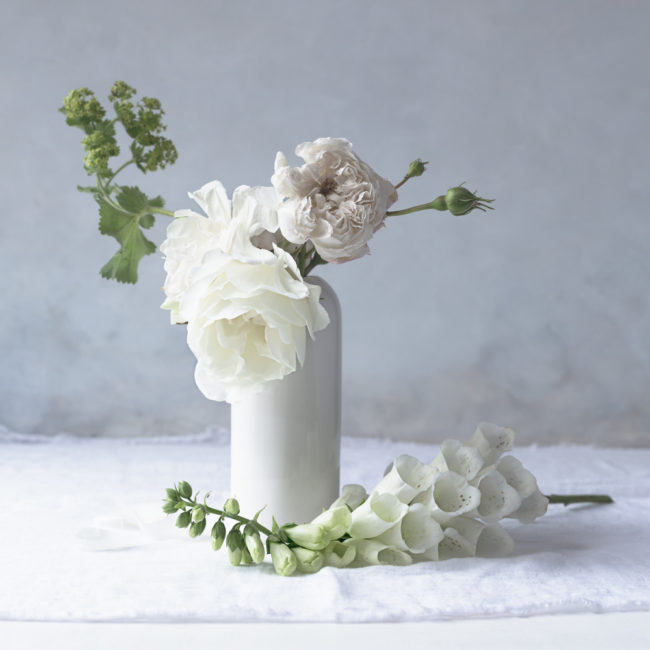
6 – Play with colour & texture. Colour is very important, and can make or break an image. Unless you’re a master at using colour, limit your palette to one or two hues, with maybe just a small pop of a contrasting colour, to create a harmonious look. Textures can add depth and interest too, so experiment and try pairing objects with different textures that complement each other and evoke the same mood and look (like cosy, rustic, vintage, modern, romantic, and so on).
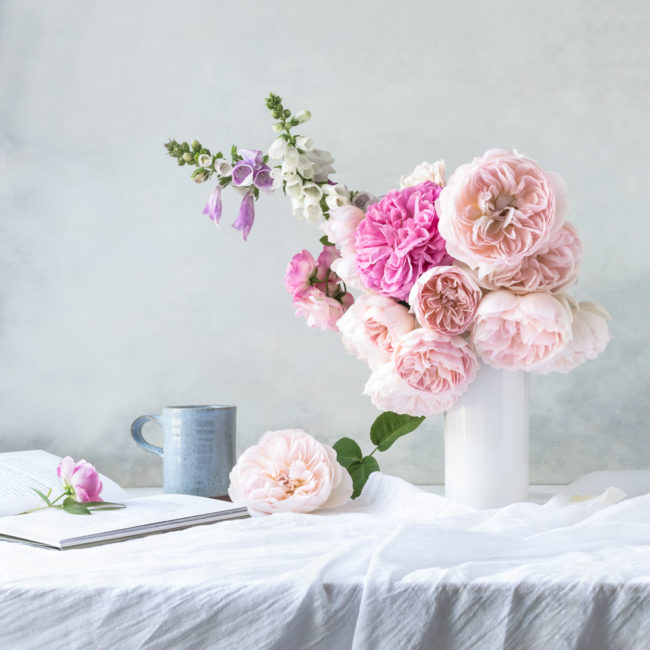
7 – Check your still life on camera. Keep in mind that what your eyes see is different from what the camera sees, so once you’ve set up your still life you need to check how it looks on camera. I often make small adjustments and move objects around, until I’m happy with the way the composition looks on my viewfinder.
8 – Move around. Instead of standing just opposite your still life, try taking photos from several angles, and also at several distances. Move your tripod closer or farther away from your subjects, and notice how the mood of your image changes and evokes different emotions.
9 – Edit your photos. Editing is a powerful creative tool, so use it! Don’t skip this step, because it can turn a good photograph into an amazing one. Aim to take photographs that are correctly exposed and framed, and then work some magic with editing. I use Adobe Lightroom for all my editing, and also Photoshop for some final touches.
10 – Practice, play, have fun. Create your still life with objects you love – I adore flowers, but we all have different preferences so choose something you’re passionate about and that feels fun, to keep you interested for a long time. Don’t expect to learn everything and become a master in one day, or you’ll quickly get overwhelmed and discouraged.
Just practice, practice, practice…and remember that everyone starts out as a beginner, so don’t compare your recent photographs to other people’s work, only to your older photos – it’s the only way to measure your progress and improvements.
I hope you find these tips useful, and if you do please feel free to share this blog post with friends and on social media :)
Tags: photography, still life, tips





Share On