Making a painted backdrop
A couple of months ago I read the book In Detail by Hans Blomquist. The book is full of wonderful still life images, and I particularly liked all the beautiful textured backdrops that Hans created by painting over pieces of canvas with wall paint.
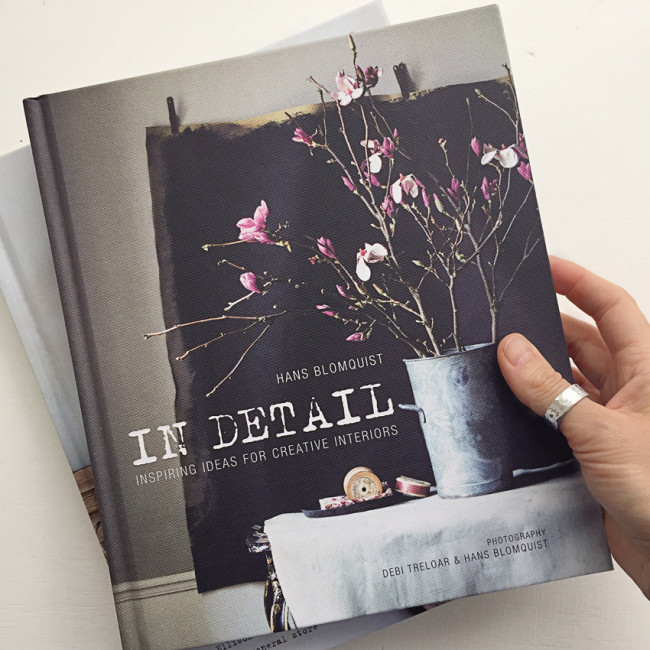
His approach inspired me to create some textured backdrops for my floral vignettes, however since I do a lot of flat lays I decided to paint on a wooden surface rather than on fabric.
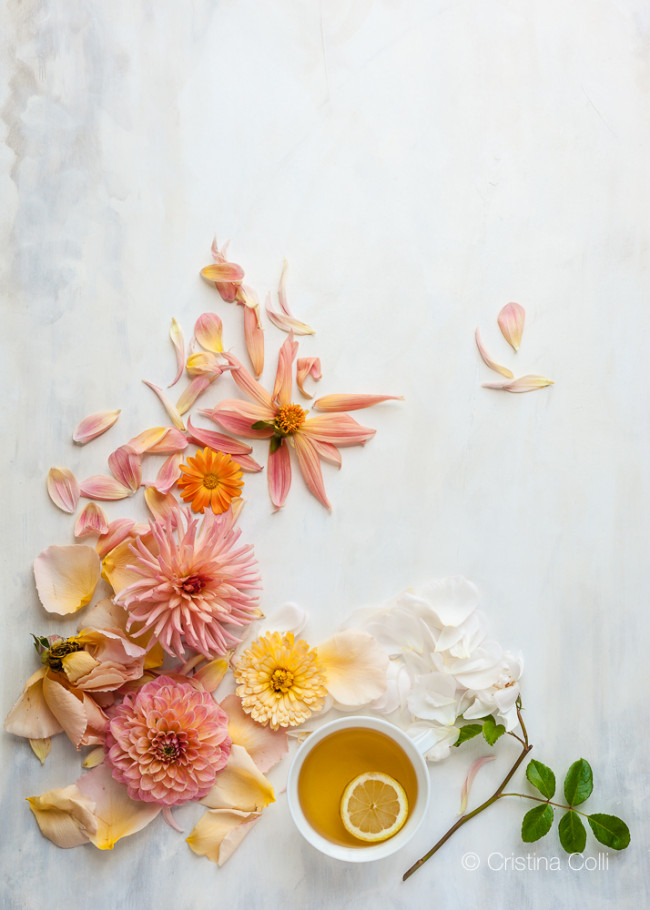
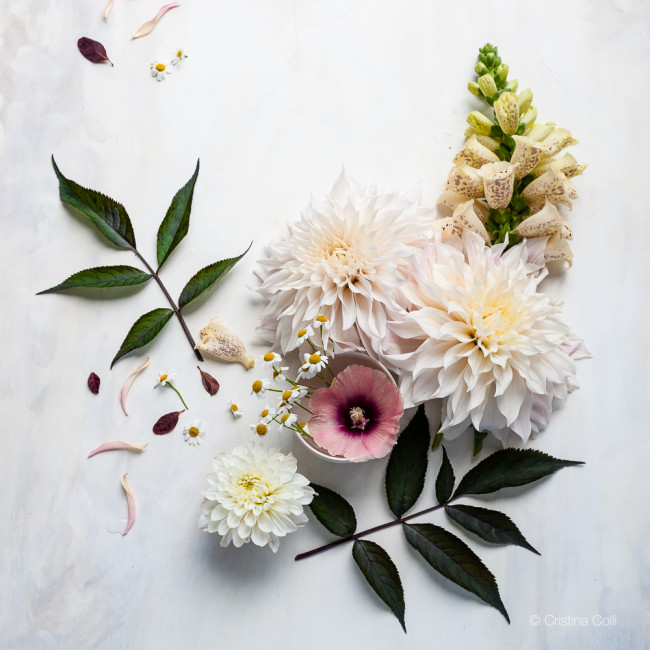
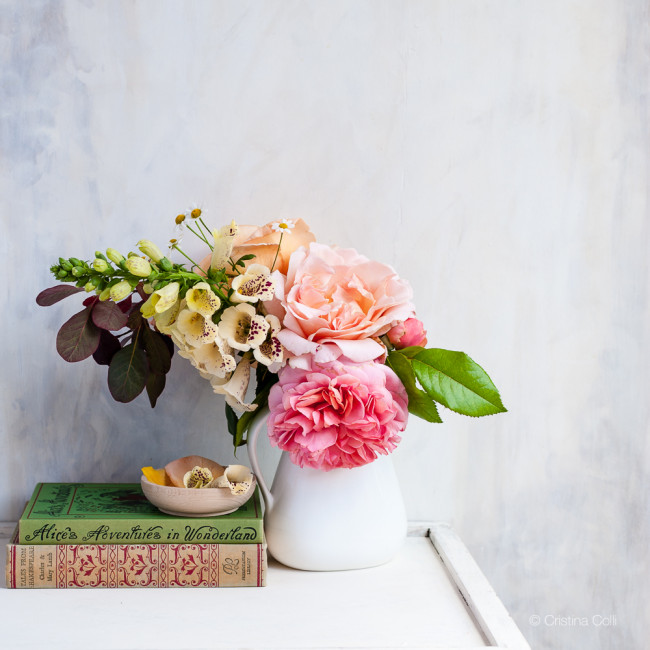
So off I went to the hardware store, and bought:
- a sheet of plywood
- a mini roller set (roller & tray with two sponge sleeves, in the decorating aisle)
- a small decorating sponge
- a selection of paint sample pots
- an interior wood primer and undercoat
My lovely husband sawed the plywood sheet in half, so I ended up with two pieces roughly 24 by 36 inches (tip: remember to lightly sand the edges before painting, or you might end up with splinters in your fingers…like I did!)
I then primed the plywood with the interior primer & undercoat, to seal the wood and avoid resins to reappear on the surface and cause yellowish stains. The stains wouldn’t show so much against dark paint, but they do show on light paint so I recommend priming to get a nicer foundation to paint over.
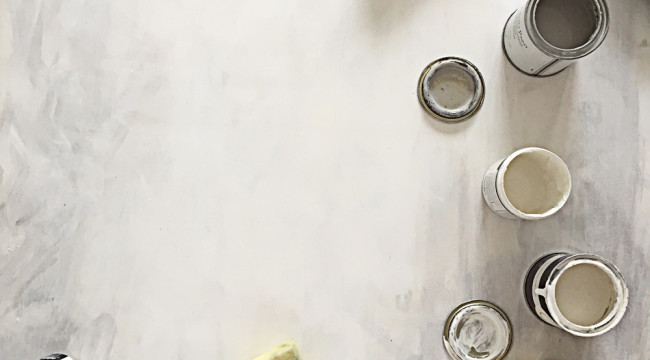
When the primer & undercoat was dry, the fun started. I donned a large apron to avoid splattering myself with paint (it’s happened before…) and gathered all the paint pots, the roller set, and the decorating sponge, that I cut into pieces roughly 2 inches wide.
I wanted to create a warm backdrop that ranged from white to grey, but that wasn’t too yellow…that meant choosing off-white paint with cooler undertones, plus some with a hint of pink-grey, a pure white, a light ivory, and a few shades of french greys (warm greys).
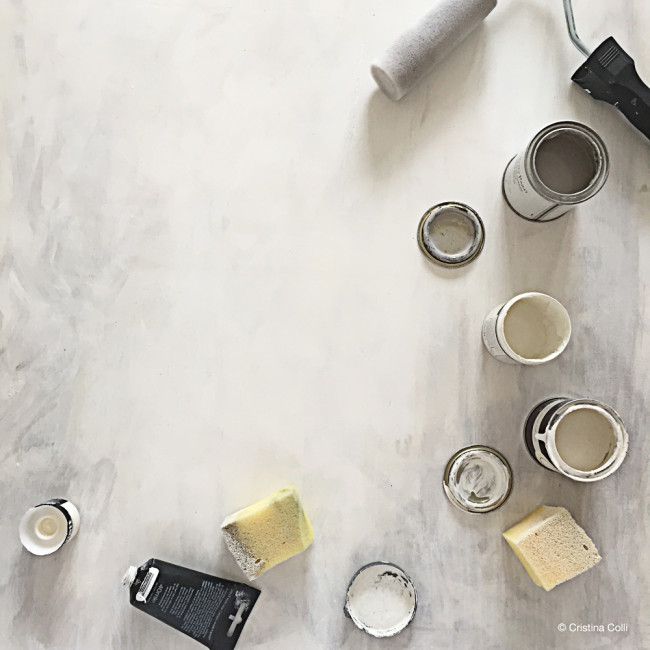
First I used the roller to paint the base: I poured some of the lighter paints and kept painting over with other off-whites, whilst the paint was still wet, in a kind of random way. This gave me a base that was a mix of off-white, light but not even – which was exactly my aim.
After that I started using the sponges to create textured effects. I put a little paint on the sponge, and then dabbed it on the board, at times also twisting the sponge, and at times swiping it lightly to create a smoother effect. I kept doing this using the darker greys at the edges, whilst keeping the middle of the board lighter.
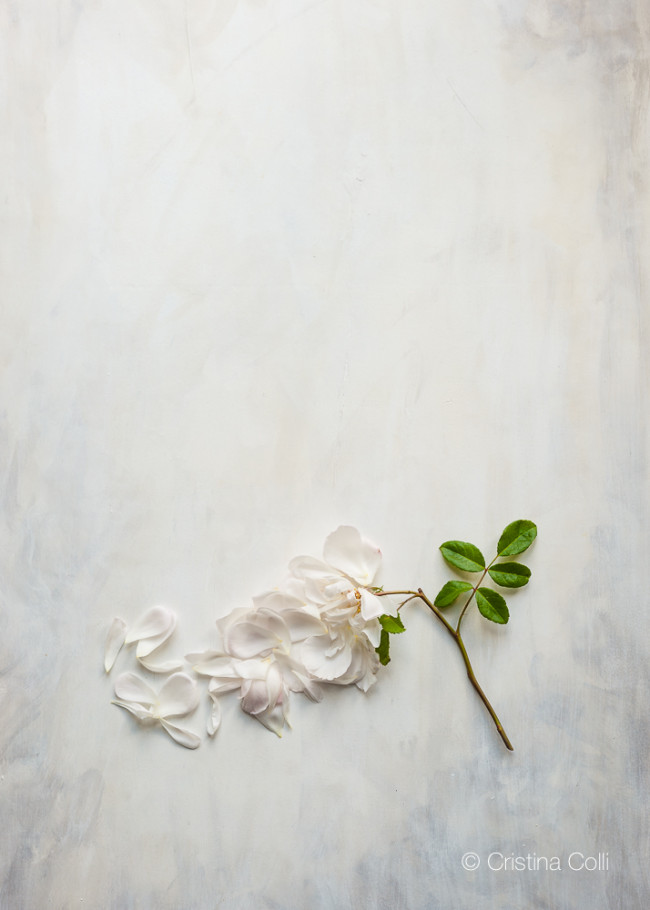
I worked fairly quickly, so that the paint was always more or less wet, and I could blend the colours nicely. When I didn’t like an area, I just went over it again with the sponge until I managed to get the effect I wanted. It’s all about layering the colours one on top of the other, in a random, organic way. I enjoyed painting the backdrops very much, probably because I knew that if I made a mistake I could simply paint it over, and that gave me the mental freedom to experiment and have fun.
I wanted to do a video of all the different steps, but taping my iPhone to my camera tripod didn’t really work – the phone kept sliding down – and the brand new mini tripod I bought recently for the phone didn’t work that well either: the iPhone kept moving, and I didn’t want to risk it dropping on the floor…I ended up with lots of blurry footage of my wrist and forearm…sorry! By the way, I recommend using gloves if you don’t want to end up with paint all over your fingers too :-D
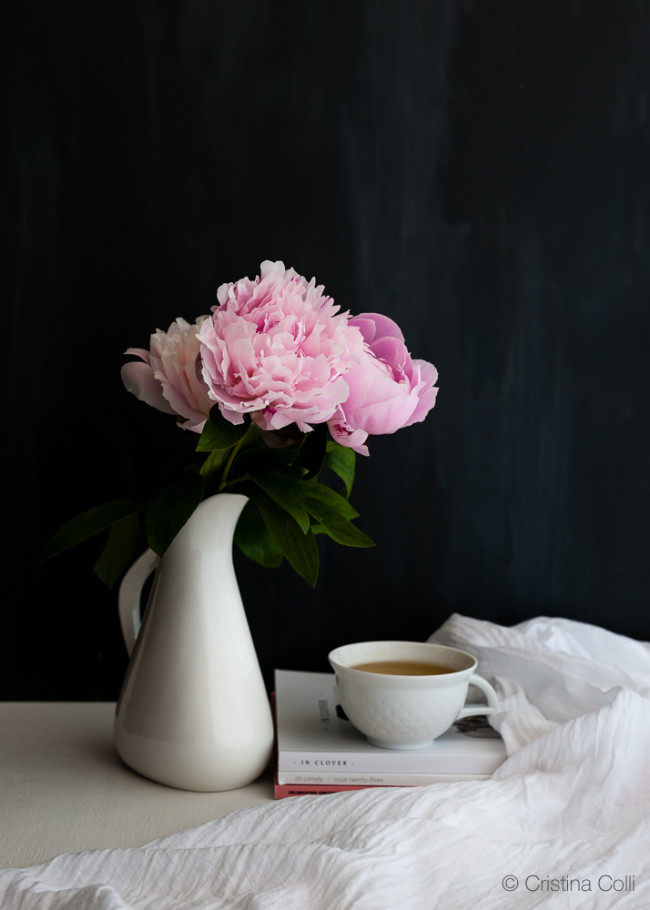
I also made a dark backdrop, using all the dark greys I could find, a tiny bit of black, and a smudge of dark blue here and there. It works well for dark and moody images:
Next time I want to make a blue backdrop, but I’m not sure what kind of blue…turquoise, or indigo? Decisions decisions….

