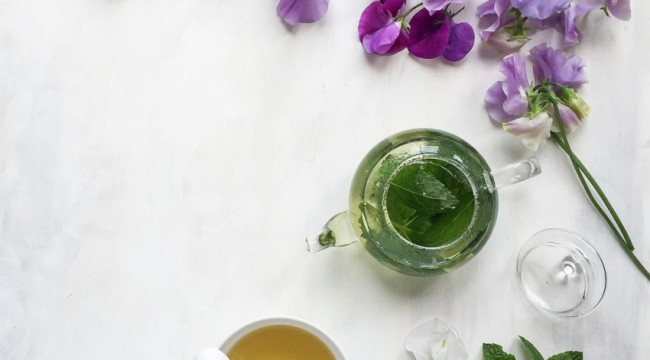
How I edit my iPhone photos
Editing for me is part of the process of creating an image, and I thought you might find it interesting to see how I edit my iPhone photos before posting them on Instagram. I take photographs using natural light, and I use a reflector to bounce up light and soften the shadows (see my iPhone photography tips here) but even though the iPhone camera is brilliant, it doesn’t give the same control that you get when using a DSLR….so I always edit my photographs to give them the exact feel I want.
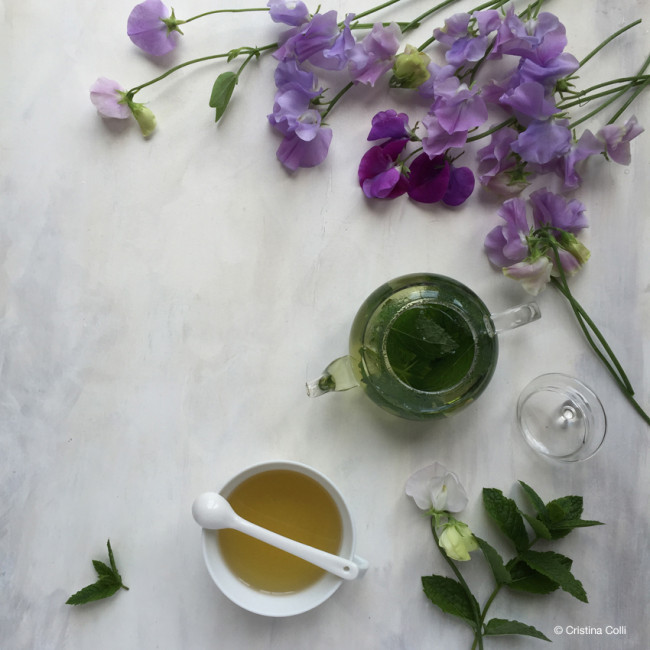
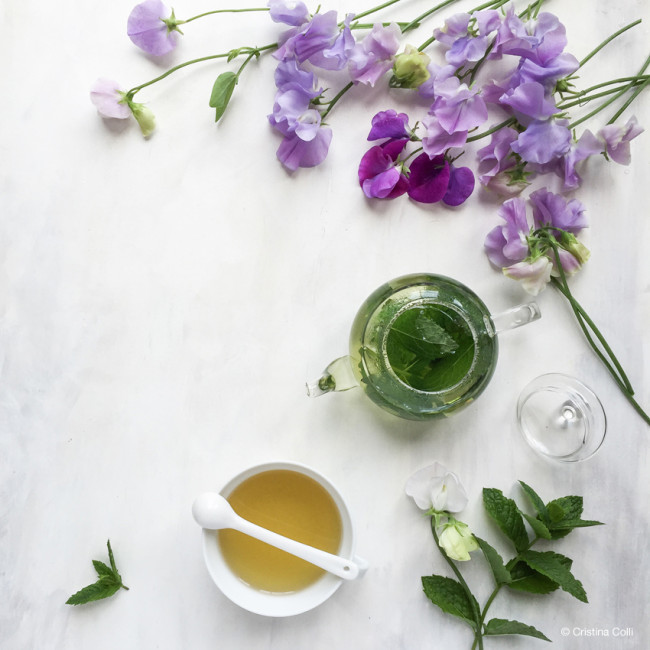
There are lots of editing Apps, including Instagram’s own editing tools, but I mostly use the Photoshop App. This is the image straight from the camera:
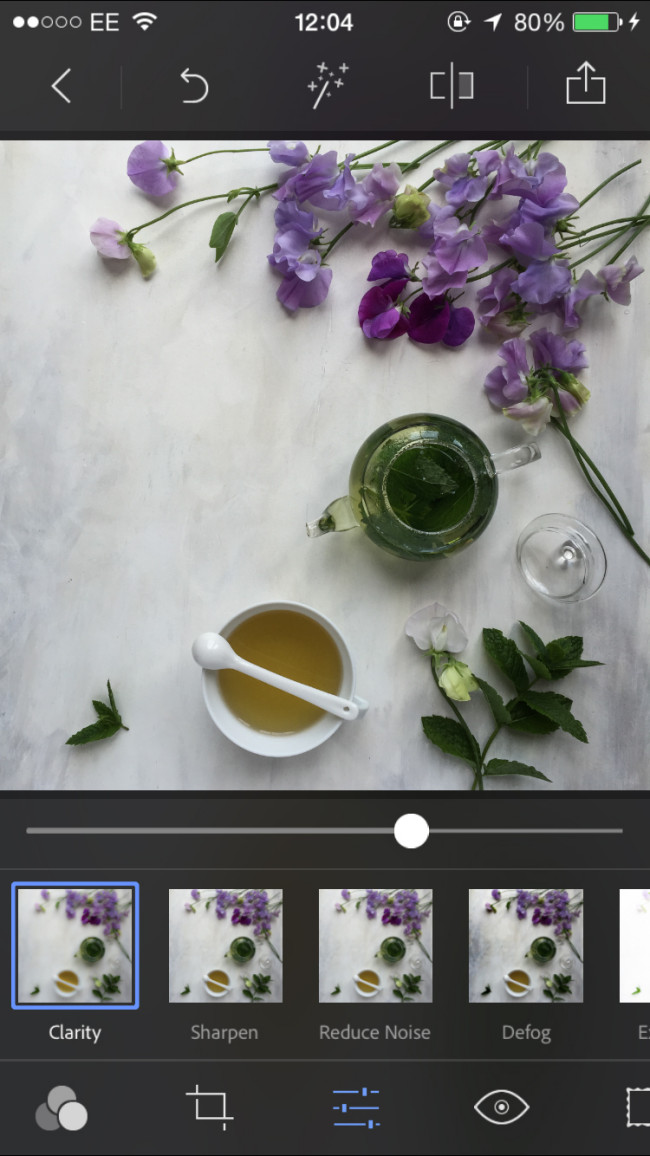
I don’t want to crop it, so I click on the little sliders icon and start with adding Clarity to increase the details
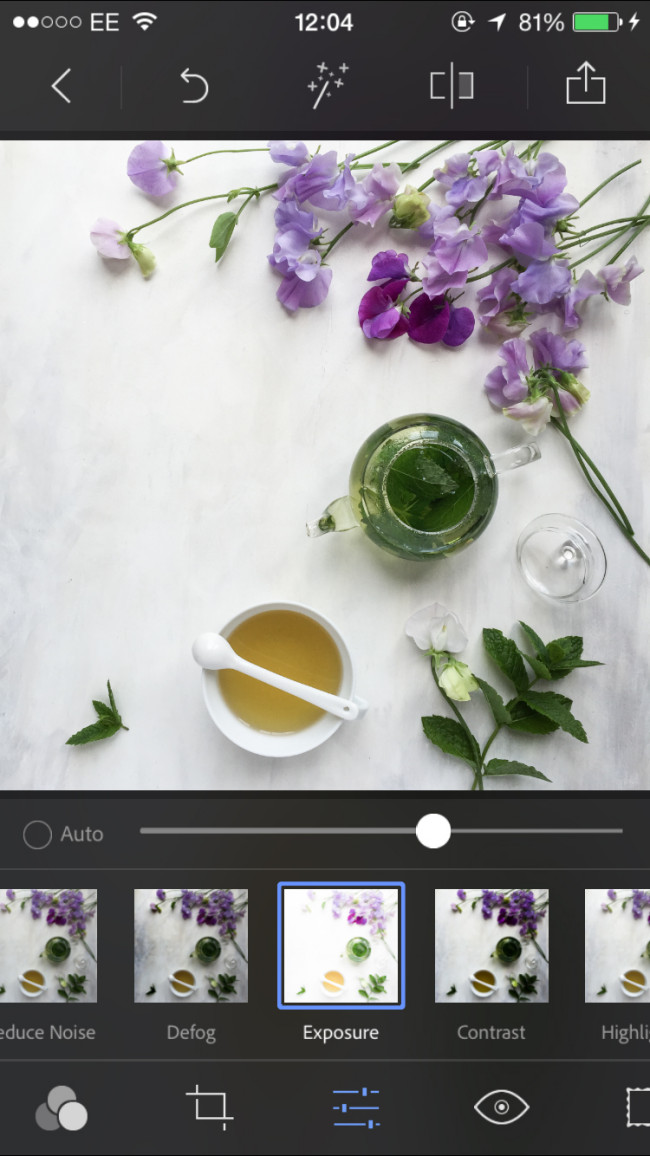
then I adjust the Exposure and lighten the image
I then increase the Highlights
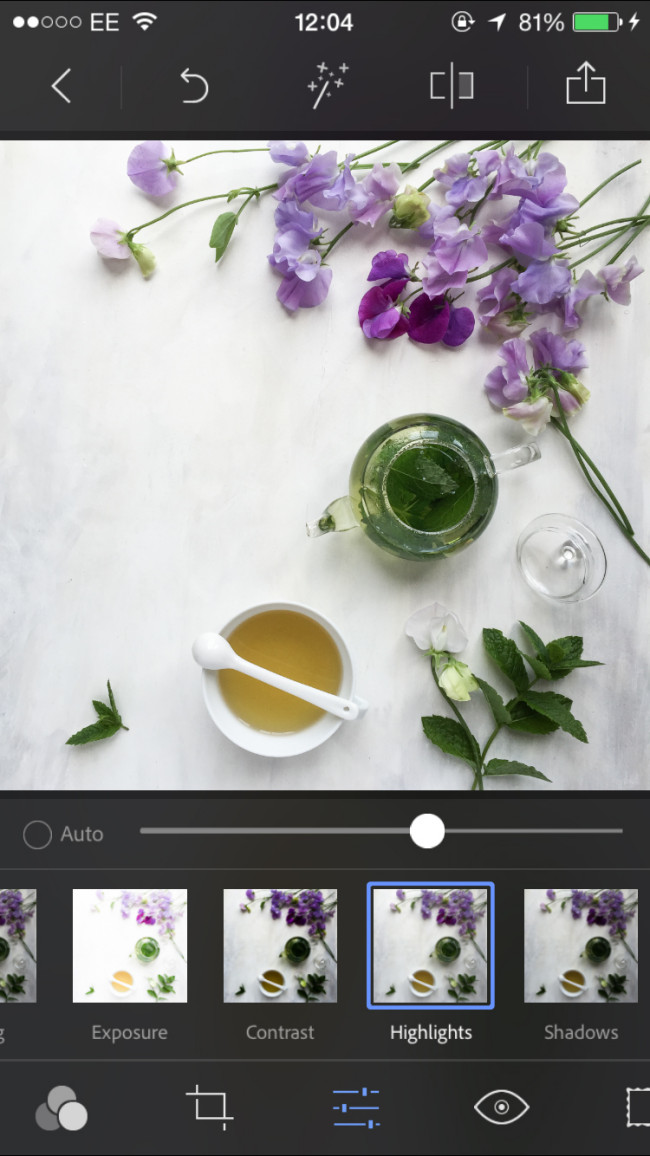
and open up the shadows a bit to further lighten the image
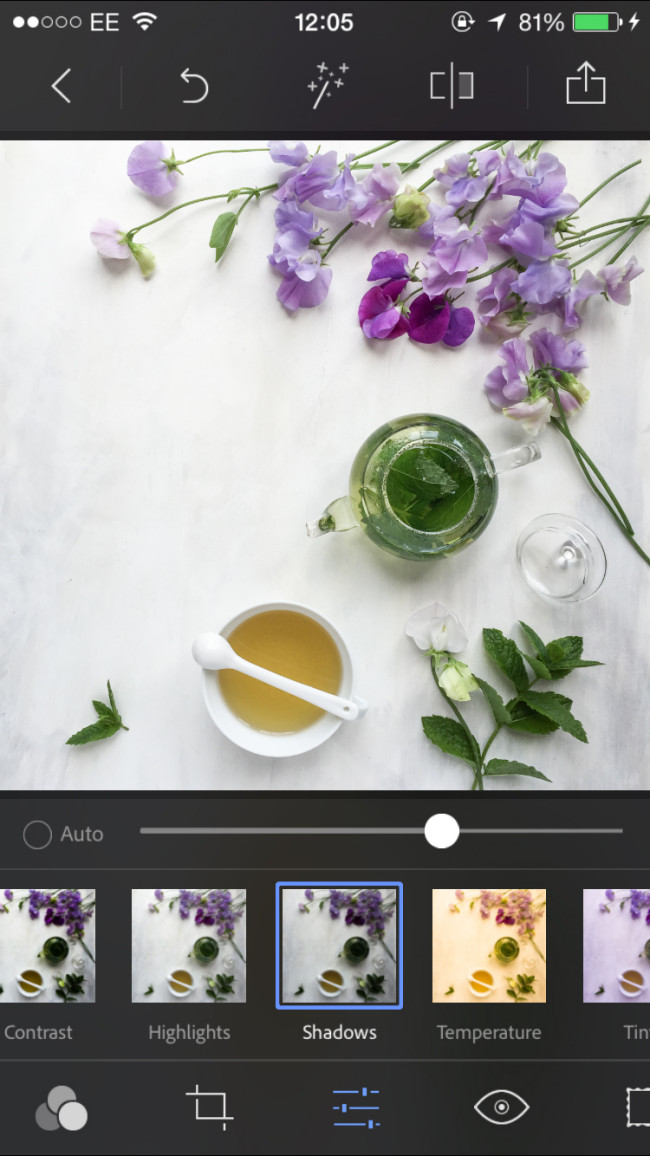
I usually add a tiny bit of contrast
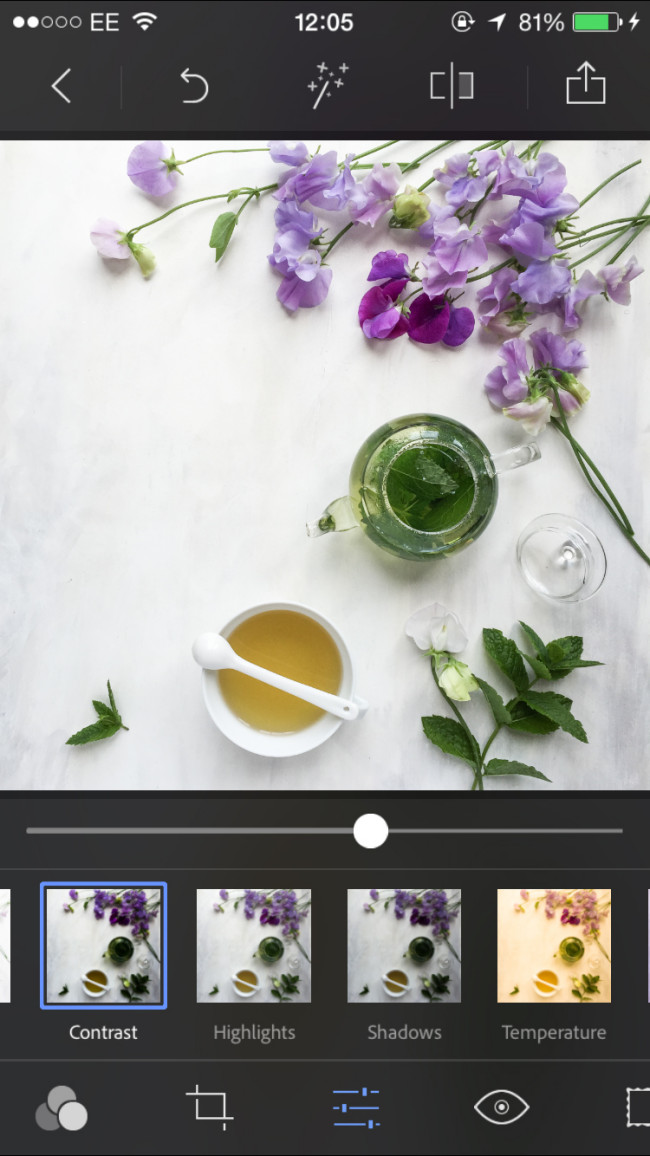
and finally a small amount of sharpening
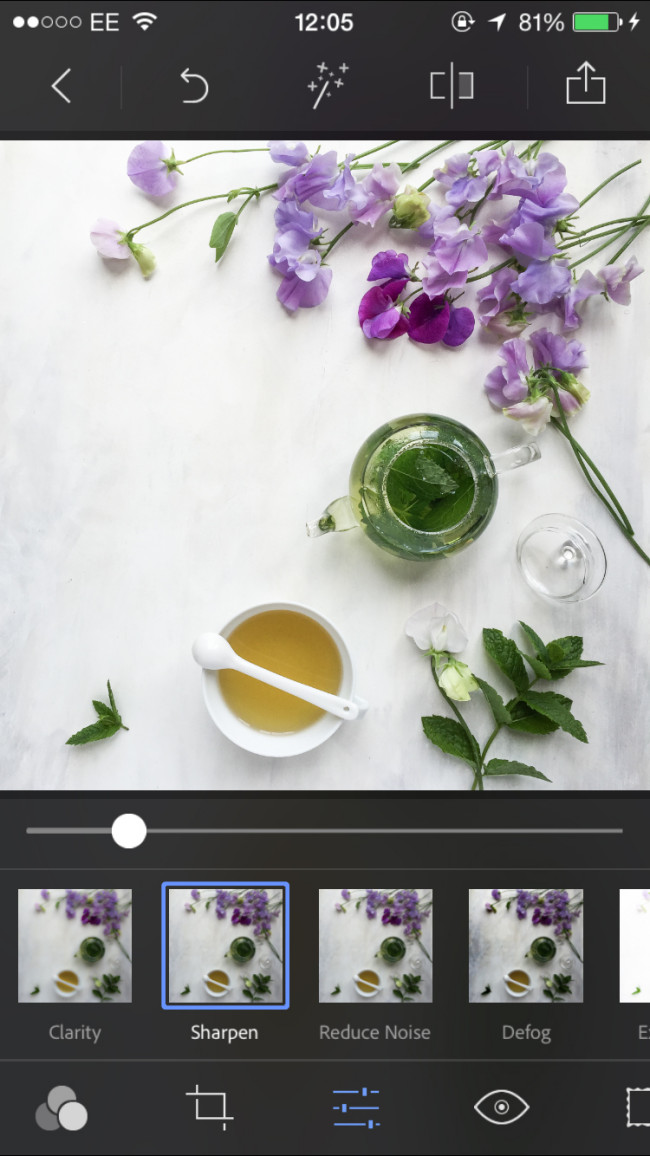
That’s it, now I’m happy with my image and I can upload it on Instagram.
Here’s the before and after, side by side.
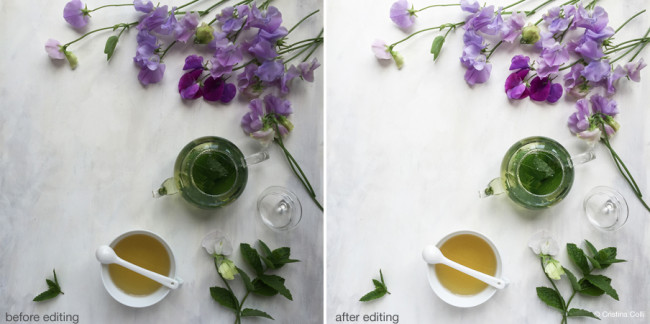
The adjustments I make are simple and take very little time – basically I lighten up my images as I tend to go for a light and airy feel. Some adjustments are tiny and perhaps you wouldn’t notice the difference, but they all contribute to the final image. In fact, I wouldn’t recommend doing too much editing, as the quality of the image is often compromised…if the image is too dark to start with, for example, then lightening it up would reveal a lot of noise, and the result wouldn’t be so pleasing.
Of course I don’t use the exact same editing for every photograph. Some pictures may require no exposure adjustment, or perhaps they might need a tiny colour pop (Vibrance tool), more (or less) clarity…sometimes I also use the Temperature tool to slightly warm or cool the image, depending of the quality of the natural light which changes with the weather and the time of the day…but in general this is how I edit my iPhone photographs.
That’s just my style, and thank goodness for personal taste or we would all end up with the same type of photographs…and wouldn’t that be boring!
Let’s say, for example, that you prefer “dark & moody” images: you could increase the clarity, and then darken the exposure, shadows, and highlights to your own taste, until you’re happy with the result. Here’s the same image, but with a moody feel: I increased the clarity same as for the “light & airy” edit, slightly decreased the exposure, darkened the shadows, lightened the highlights just a smudge to make the white pop, increased the contrast, and finished with a little sharpening.
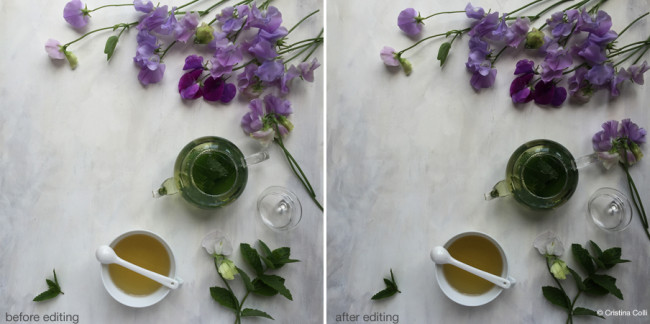
And these are the three images – straight from the iPhone camera, bright & airy edit, and dark & moody edit.

As I said, I usually tend to prefer lighter images…They cheer me up, probably because they remind me of blue skies and sunlight flooding in through a window, and that instantly lifts my mood…having said that, I also appreciate the beauty of dark and moody photography, and sometimes I experiment with dark backgrounds, low lighting, and “moody” editing. Which style do you prefer? I’d love to know :)

